


Ever looked at your patio and thought of it as a blank canvas? A clean patio is just that – a fresh start for countless barbecues, sun-soaked lounging, and starlit gatherings. Here’s how to clean patio slabs, transforming your space into a clean slate, ready for any occasion.
Key Takeaways
- Assemble a patio cleaning toolkit with pressure washer, broom and additional accessories.
- Prepare your cleaning solution for different types of surfaces using dish soap, water and white vinegar.
- Tackle common patio problems with cleaners, white vinegar and a pressure washer to ensure proper drainage.
Patio Cleaning Essentials: What You’ll Need
Imagine setting out to paint a masterpiece without your brushes and palette. It wouldn’t work, right? The same goes for cleaning your patio. You will embark on your patio cleaning journey by assembling your toolkit, concocting your cleaning solution, and putting on protective clothing.
Your patio cleaning toolkit should include joint scrapers or pressure washers for deep cleaning, and surface cleaners and patio cleaners designed for different types of slabs. Preparing your cleaning solution is akin to mixing your paints. You can prepare an eco-friendly cleaning solution for a concrete patio by mixing a biodegradable soap with warm water. When it comes to natural stone patio slabs, a pH-neutral soap with warm tap water is recommended for small areas. And just as an artist wears a smock, you should wear protective clothing to avoid injury from tools or skin irritation from cleaning solutions.
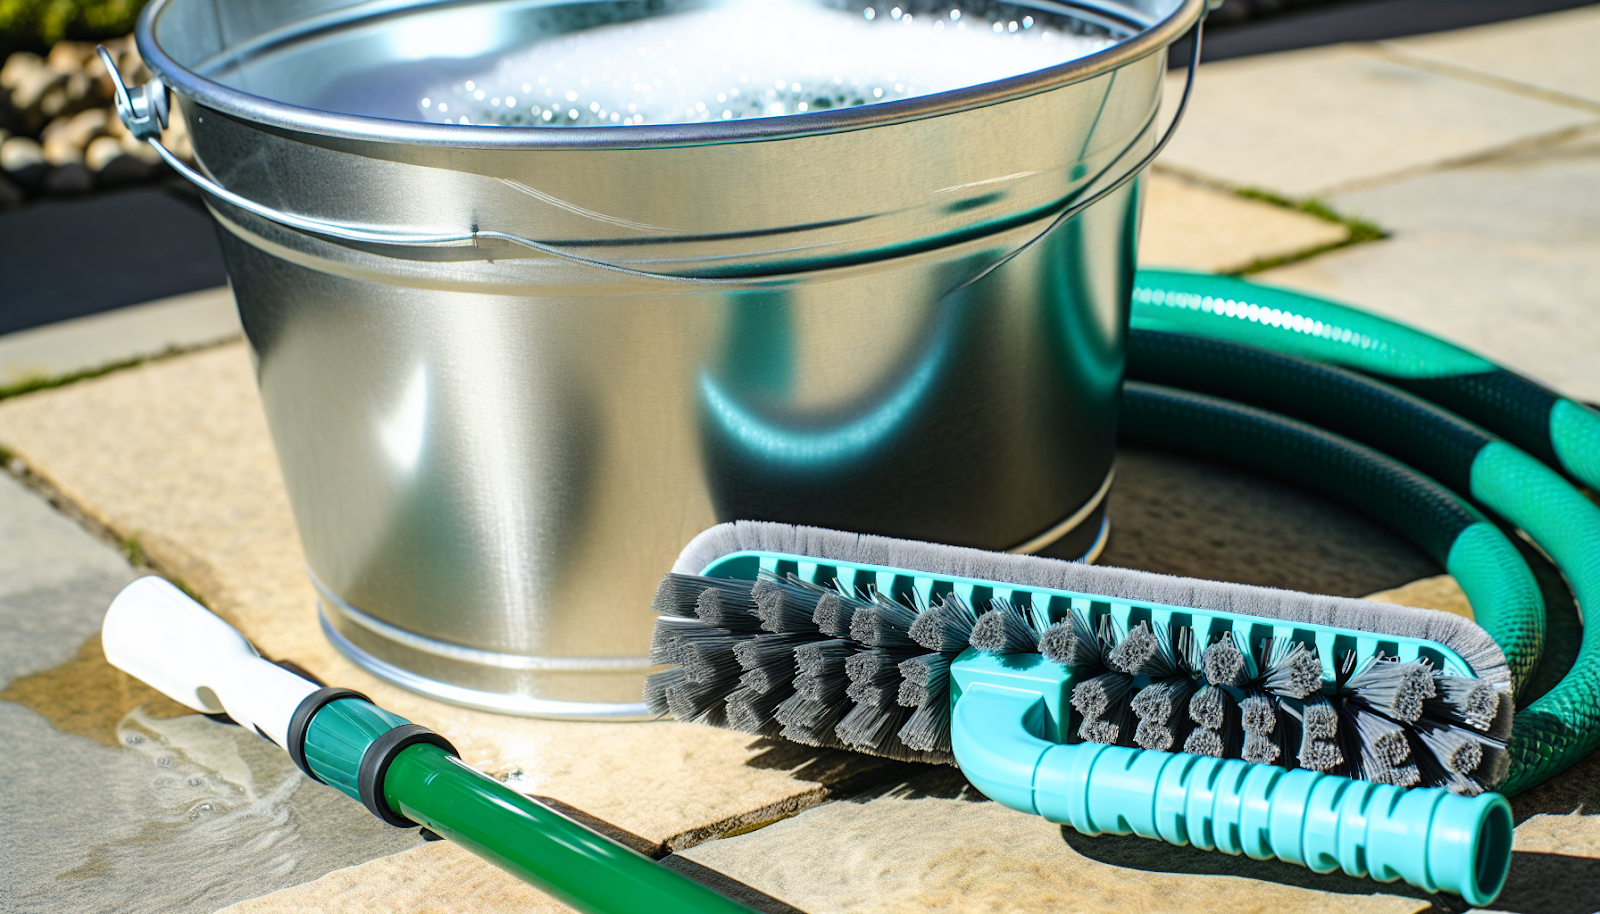
Assembling Your Patio Cleaning Toolkit
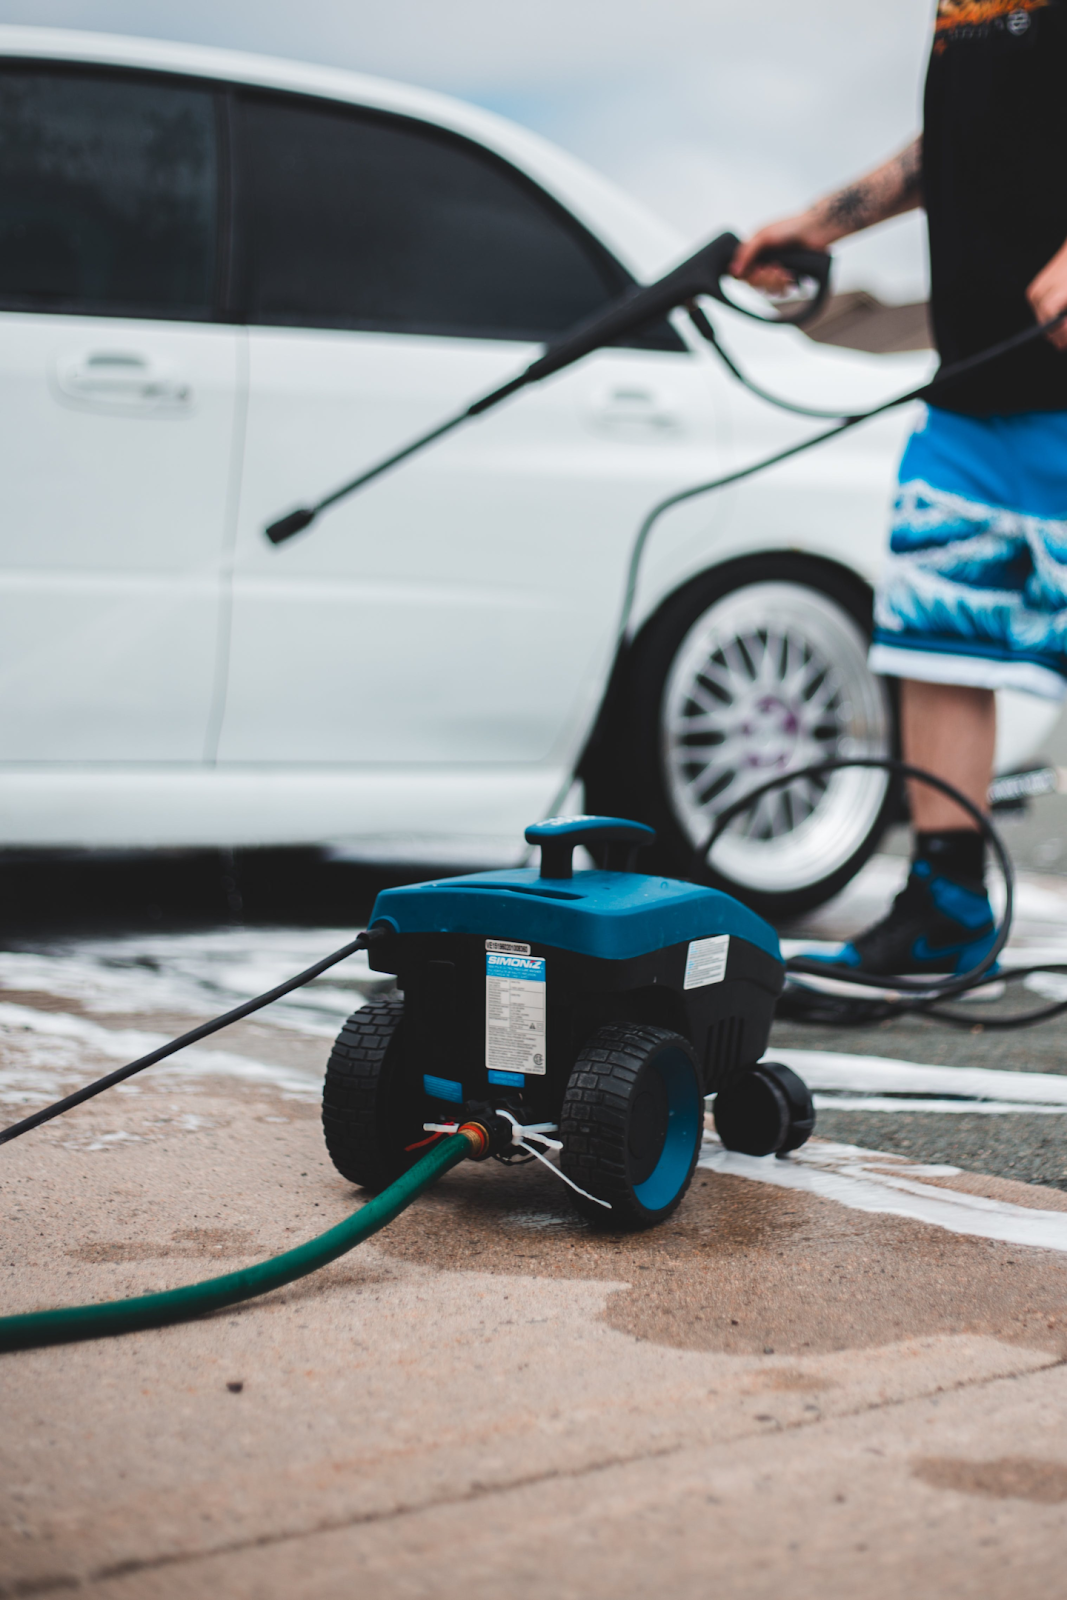
Your patio cleaning toolkit serves as your defense in the war against dust and grime. The key players? A pressure washer for effective cleansing and a stiff broom for scrubbing surfaces. But why choose a pressure washer over a simple garden hose, you might ask? A pressure washer, also known as a power washer, is preferred for patio cleaning due to its higher water pressure, which is more effective in removing dirt and stains from surfaces, resulting in a cleaner finish in less time.
To elevate your patio cleaning experience, consider adding the following accessories:
- Patio cleaner solution
- Extension wand
- Surface cleaner attachment
- Protective gear
With this toolkit, you’re well on your way to transforming your dirty patio into a shining outdoor space, perfect for your patio furniture!
Preparing Your Cleaning Solution
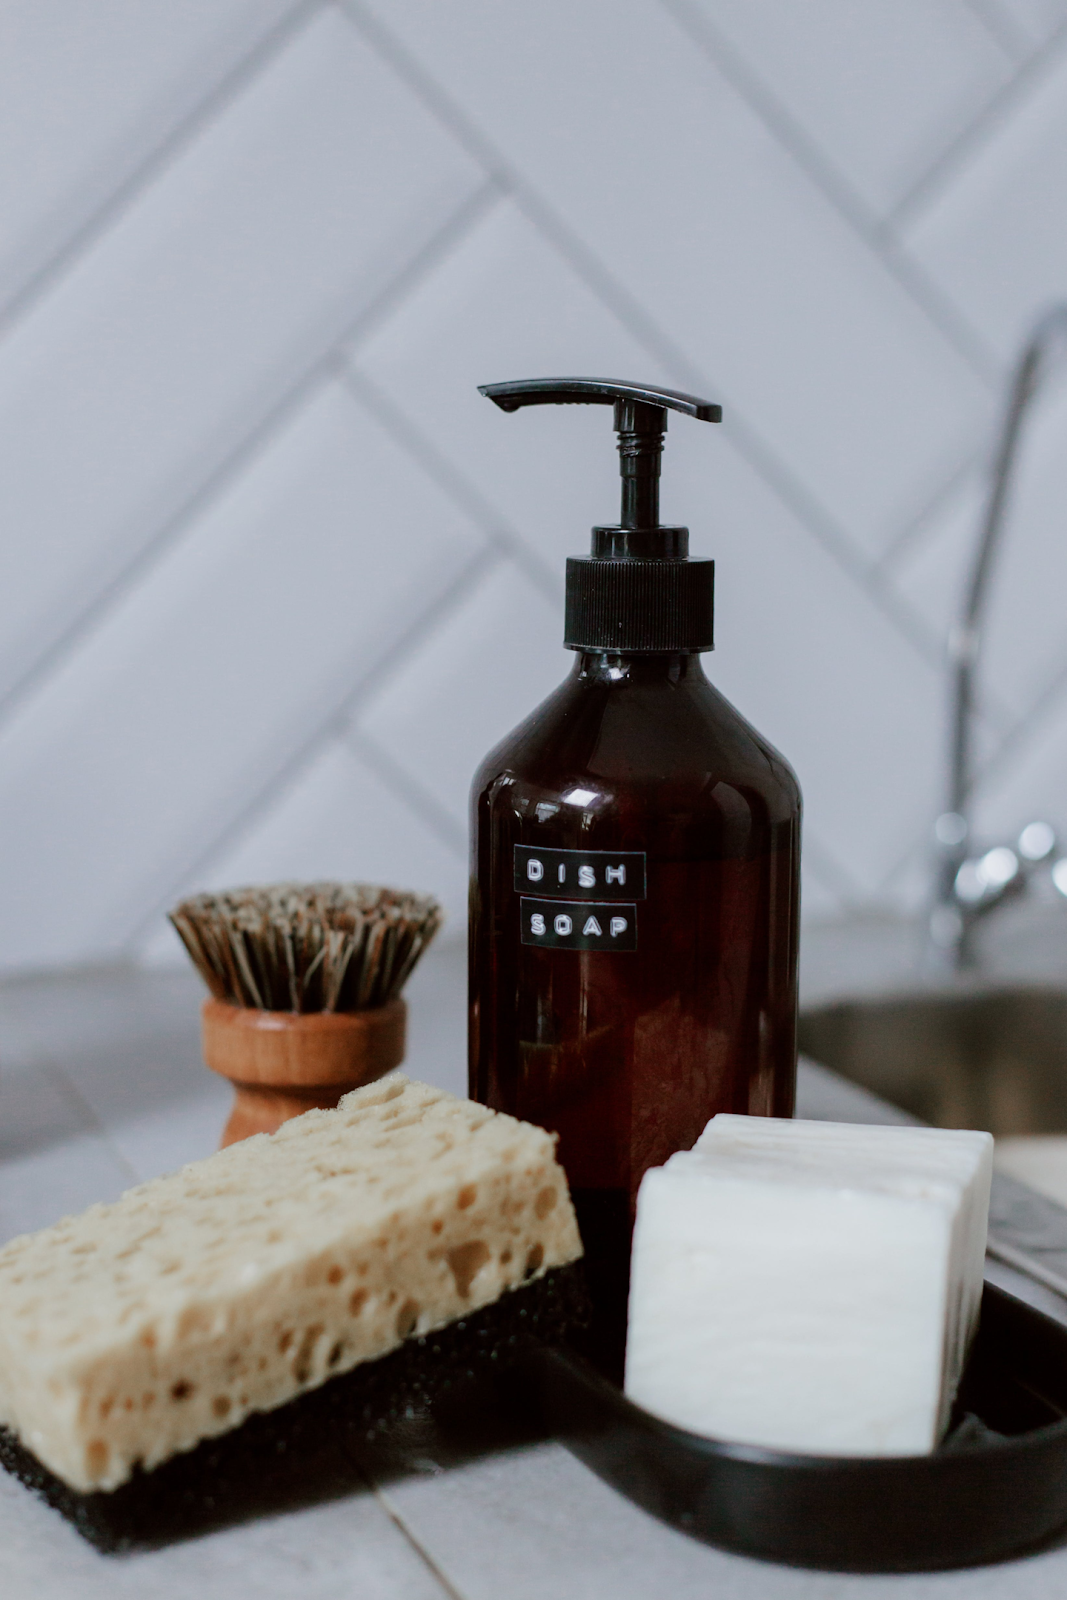
Much like an artist mixing paint, creating your cleaning solution is a vital part of your patio cleaning operation. A simple mixture of dish soap and water is recommended for cleaning a lightly soiled patio. A mild and gentle soap, such as washing up liquid, is recommended for cleaning paving slabs.
If you’re looking to add a touch of green to your cleaning process, white vinegar can serve as an environmentally friendly and non-toxic patio cleaning solution. However, be careful not to use it on limestone pavers as the acid will permanently damage their surface. It’s all about finding the right balance, just like in a masterpiece!
Safety First: Donning Protective Clothing
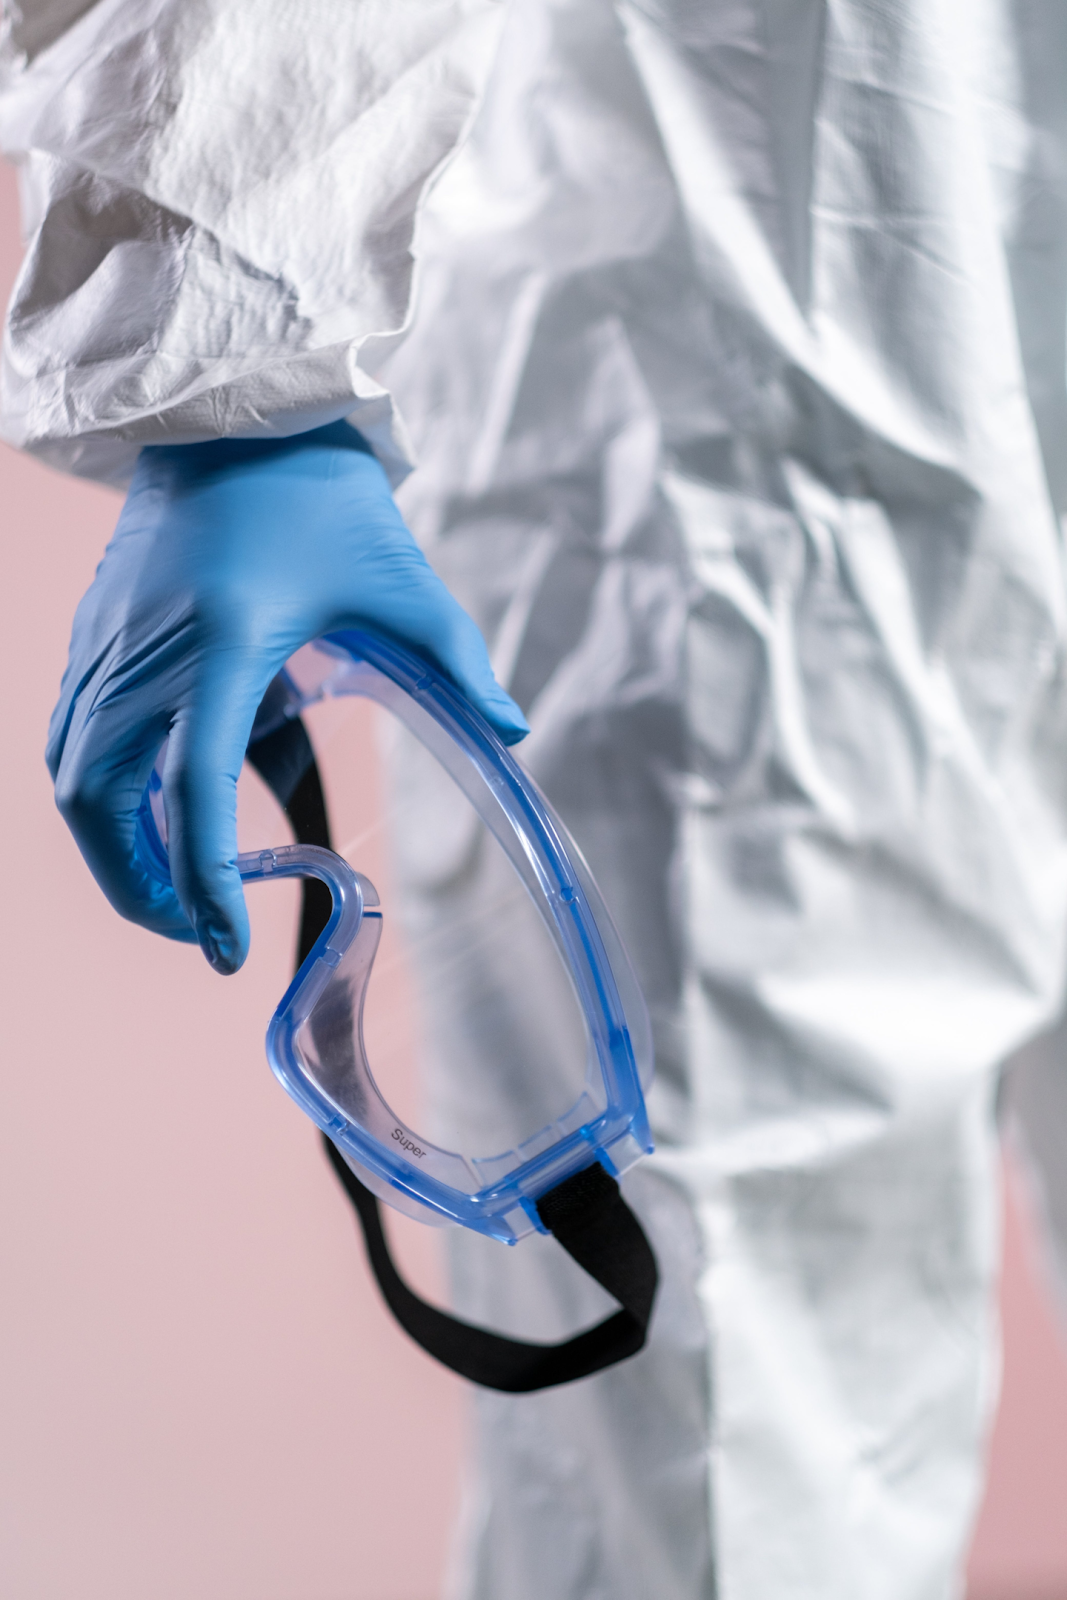
Equipping yourself with protective clothing before embarking on your patio cleaning task is as essential as a knight gearing up for battle. Wearing gloves during patio cleaning protects your hands from chemicals and potential skin irritation. The best types of gloves are heavy-duty rubber gloves or latex gloves, as they offer the necessary protection while handling the cleaning products.
Wearing goggles while cleaning a patio is necessary to protect the eyes from flying debris, splashing chemicals, and water spray, which are common hazards during the cleaning process.
Protective clothing for patio cleaning should:
- Be made of impermeable material to block chemicals
- Cover the body fully to prevent skin exposure
- Have a tight fit to avoid catching on tools
- Include eye protection to shield the eyes.
Step-by-Step Guide to a Shiny Patio
With our preparations complete, it’s time to delve into the main task at hand. The canvas is prepped, and the brushes are poised. It’s time for our step-by-step guide to a shiny patio. We’ll start by clearing the patio area, then move on to applying the cleaning solution, and finally, we’ll embark on the scrubbing routine.
Before starting to clean the patio, you need to:
- Pick up any furniture that is lying around.
- Sweep away surface debris.
- Pull out any weeds.
- Apply the cleaning solution using a stiff brush to ensure thorough coverage of all areas of the patio, paying special attention to stained sections.
To clean a patio, follow the recommended method:
- Use a stiff brush and a cleaning solution to focus on removing stains.
- After completing the scrubbing process, rinse off the patio with clean water.
- Let the patio dry completely before placing furniture or plants back on it.
Clearing the Patio Area
Just like you need a blank canvas to start a masterpiece, you need a clear patio before you begin cleaning. Similarly, before you start cleaning, you need a clear patio. Start by removing any furniture or pots from the patio and, if necessary, seek assistance to safely relocate heavy furniture to a secure area.
Small debris such as leaves and dirt can be effectively removed by sweeping the patio area with a straw or plastic broom. For more stubborn debris, a stiff broom and soapy water can be used to ensure thorough cleaning.
To effectively clear large patio areas before cleaning, it is recommended to start by sweeping debris with a brush, clearing any furniture, and considering the use of a pressure washer for more efficient cleaning.
Applying Your Cleaning Solution
With a clear patio, the next step is to apply your cleaning solution. Picture it like applying a base coat of paint to a canvas. The recommended method for applying a cleaning solution to the patio is to:
- Mix the cleaner with water according to the instructions.
- Pour the mixture across the patio.
- Use a brush to evenly scrub the surface, ensuring the solution is distributed across all the slabs.
In terms of approach, it’s generally recommended to clean the entire patio at once. This helps achieve a consistent and uniform clean across the surface, avoiding missed spots or uneven results. The recommended duration for the cleaning solution to remain on the patio slabs is typically 15 to 45 minutes. However, it’s essential to consider the specific instructions provided for the cleaning agent being used, as the exact time may vary depending on the product.
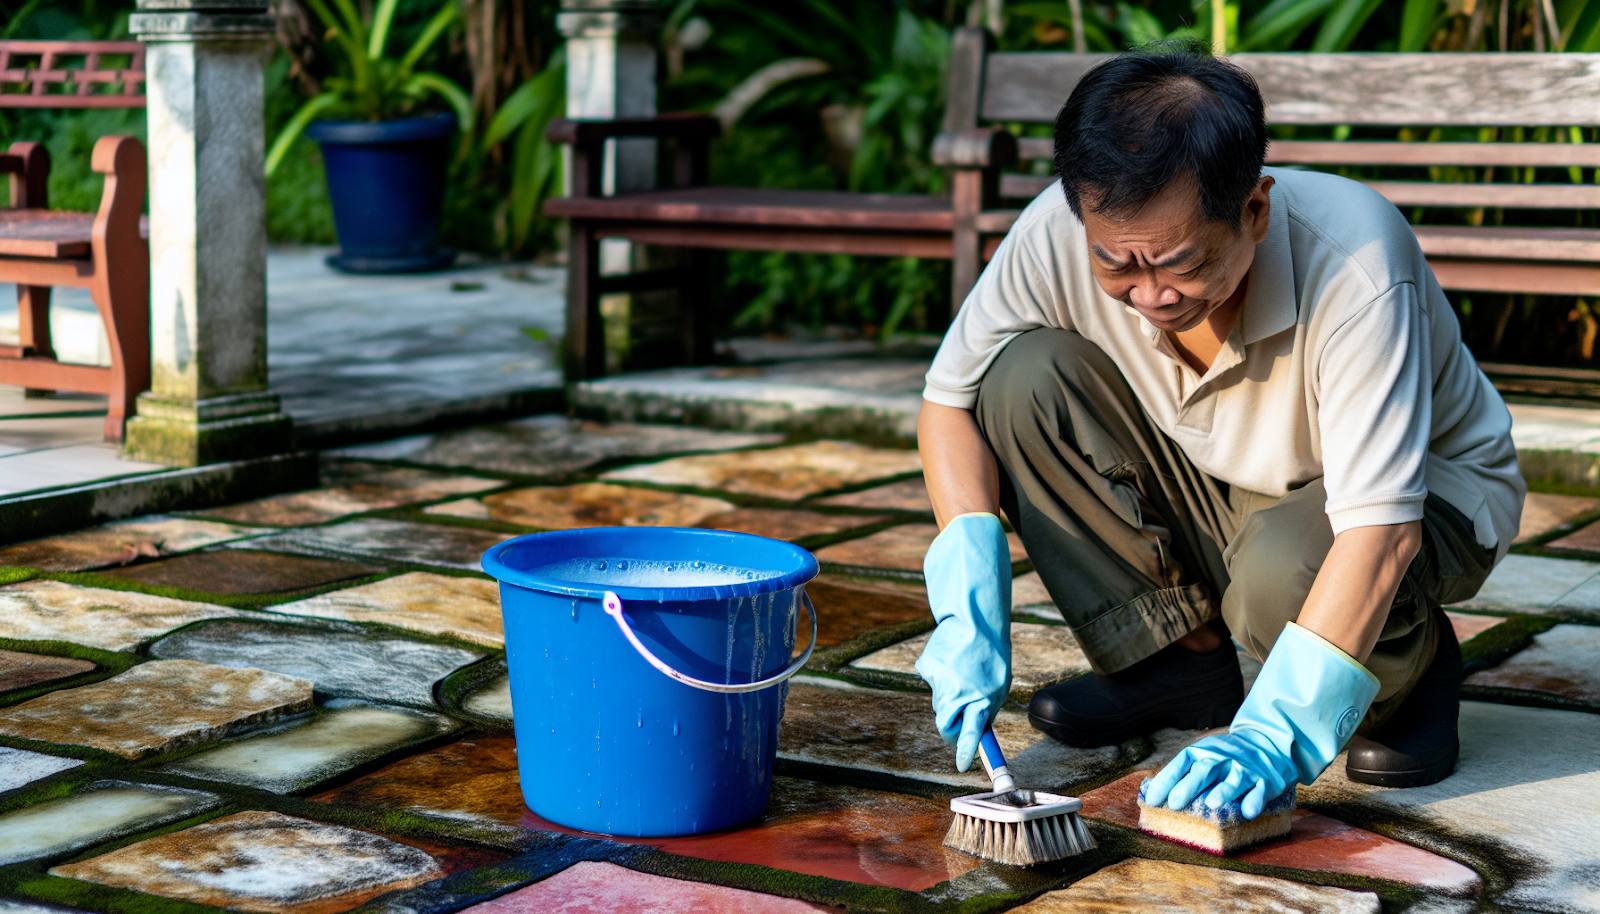
The Scrubbing Routine
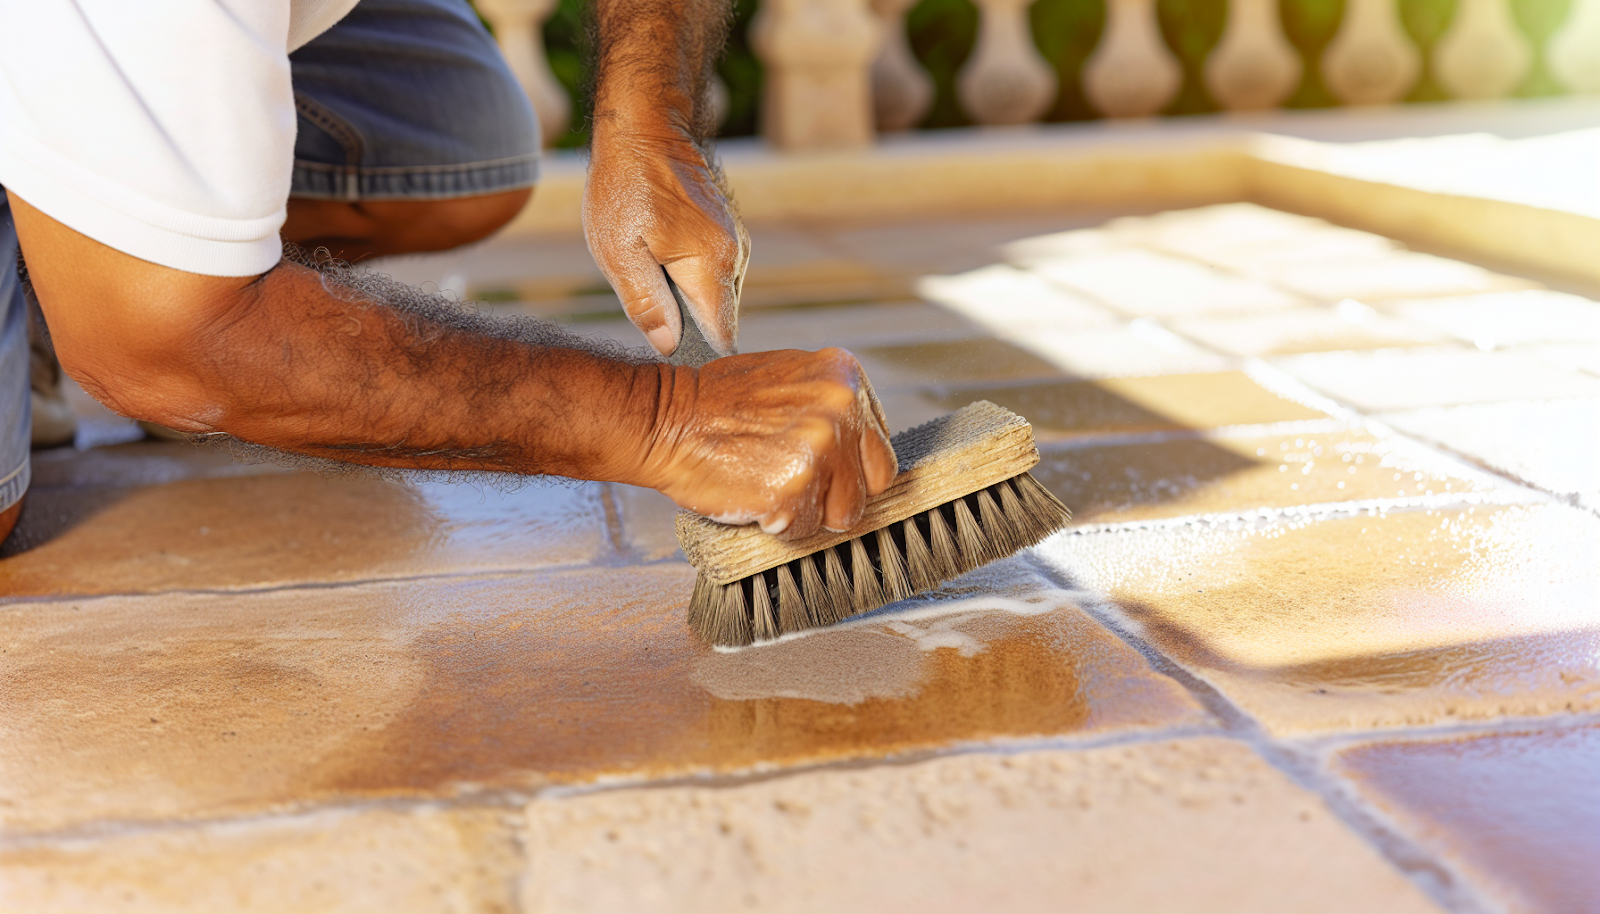
With the cleaning solution in place, the scrubbing phase begins. A hard-bristled brush, such as garden brushes or deck scrub brushes, is recommended for efficient cleaning of patio slabs. The recommended technique for scrubbing a patio is to scrub diagonally across the slabs, which helps to tackle the dirt effectively.
Regular brushing of patio slabs is important due to its ability to prevent the germination of new seeds and remove any smaller weeds that have sprouted, thus maintaining the cleanliness and appearance of the patio. After scrubbing the patio, it is recommended to clean away the dirty water with a bucket of clean water, directing the runoff towards a drainage point to leave the patio spotless.
Natural Solutions for Eco-Friendly Cleaning
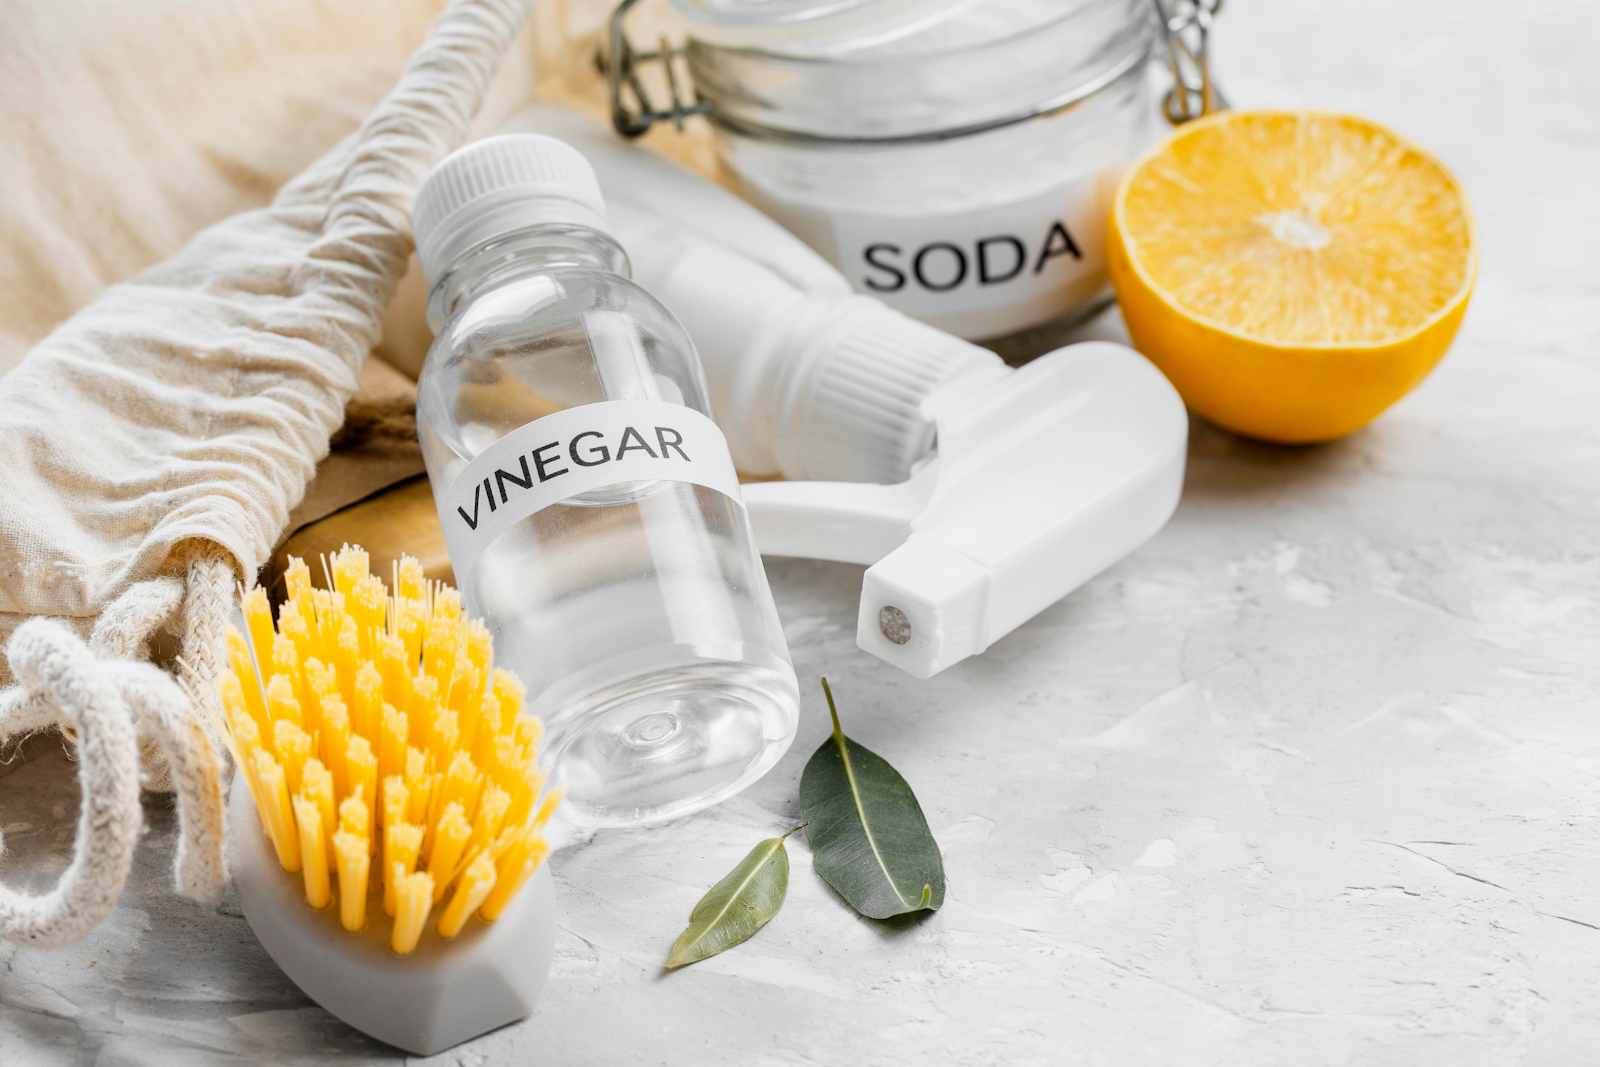
You might be pondering the idea of a more environmentally friendly approach at this juncture. We’ve got you covered. We’ll explore eco-friendly alternatives, such as using a mixture of vinegar and water, or baking soda and water.
The beauty of these natural solutions is that they’re not just eco-friendly, they’re also quite effective. The vinegar and water solution can tackle most types of dirt and stains, while the baking soda solution is perfect for addressing those stubborn stains that refuse to go away.
The Power of Vinegar and Water
First, we’ll explore the effectiveness of a vinegar and water mixture. To create an effective natural cleaning solution for patios, simply mix equal parts white vinegar and water in a bucket. It’s recommended to let the vinegar and water solution sit on the patio for 20 to 30 minutes to an hour before scrubbing the area clean after pouring it over the surface.
But remember, not all surfaces can handle vinegar. It is important to be aware that white vinegar should never be used on limestone pavers. The acid content will irrevocably damage the surface of these pavers.
Baking Soda for Stubborn Stains
Baking soda is your go-to solution for those stubborn stains. To clean patio slabs using baking soda, follow these steps:
- Mix a cup of baking soda with a gallon of water.
- Apply the mixture to the slabs.
- Allow it to stand for 30 minutes.
- Rinse with water.
Baking soda’s high pH level enables it to break down and dissolve dirt, grease, and other organic compounds, making it effective for removing organic stains such as:
- rust
- coffee
- wine spills
- blood
It’s like a secret weapon in your patio cleaning arsenal!
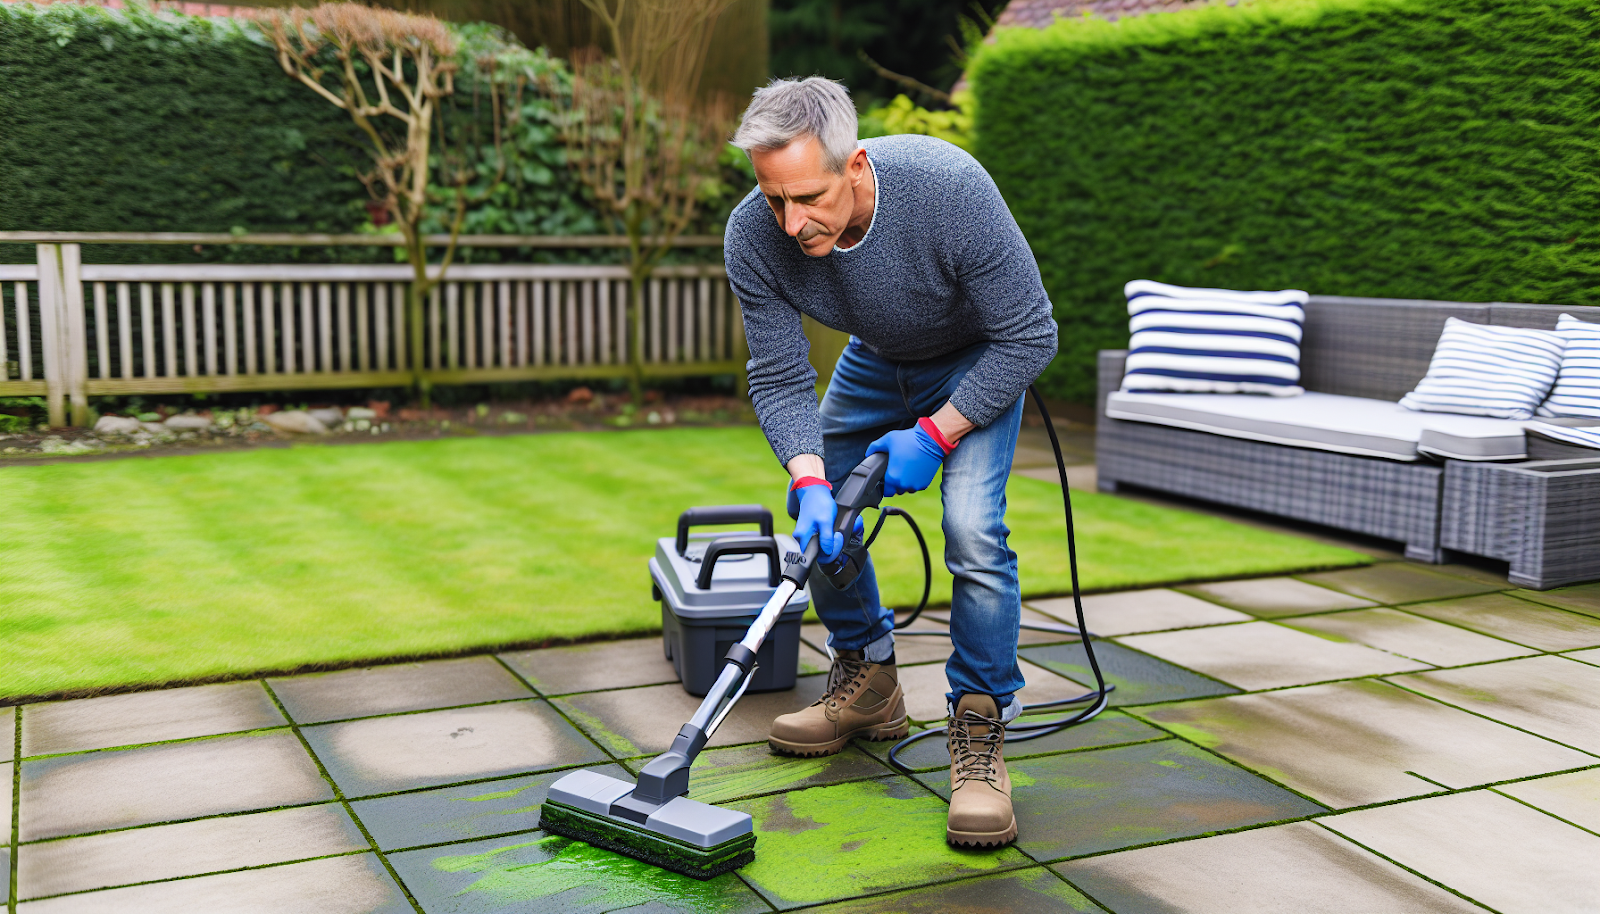
Pressure Washing: A Speedy Clean for Your Patio
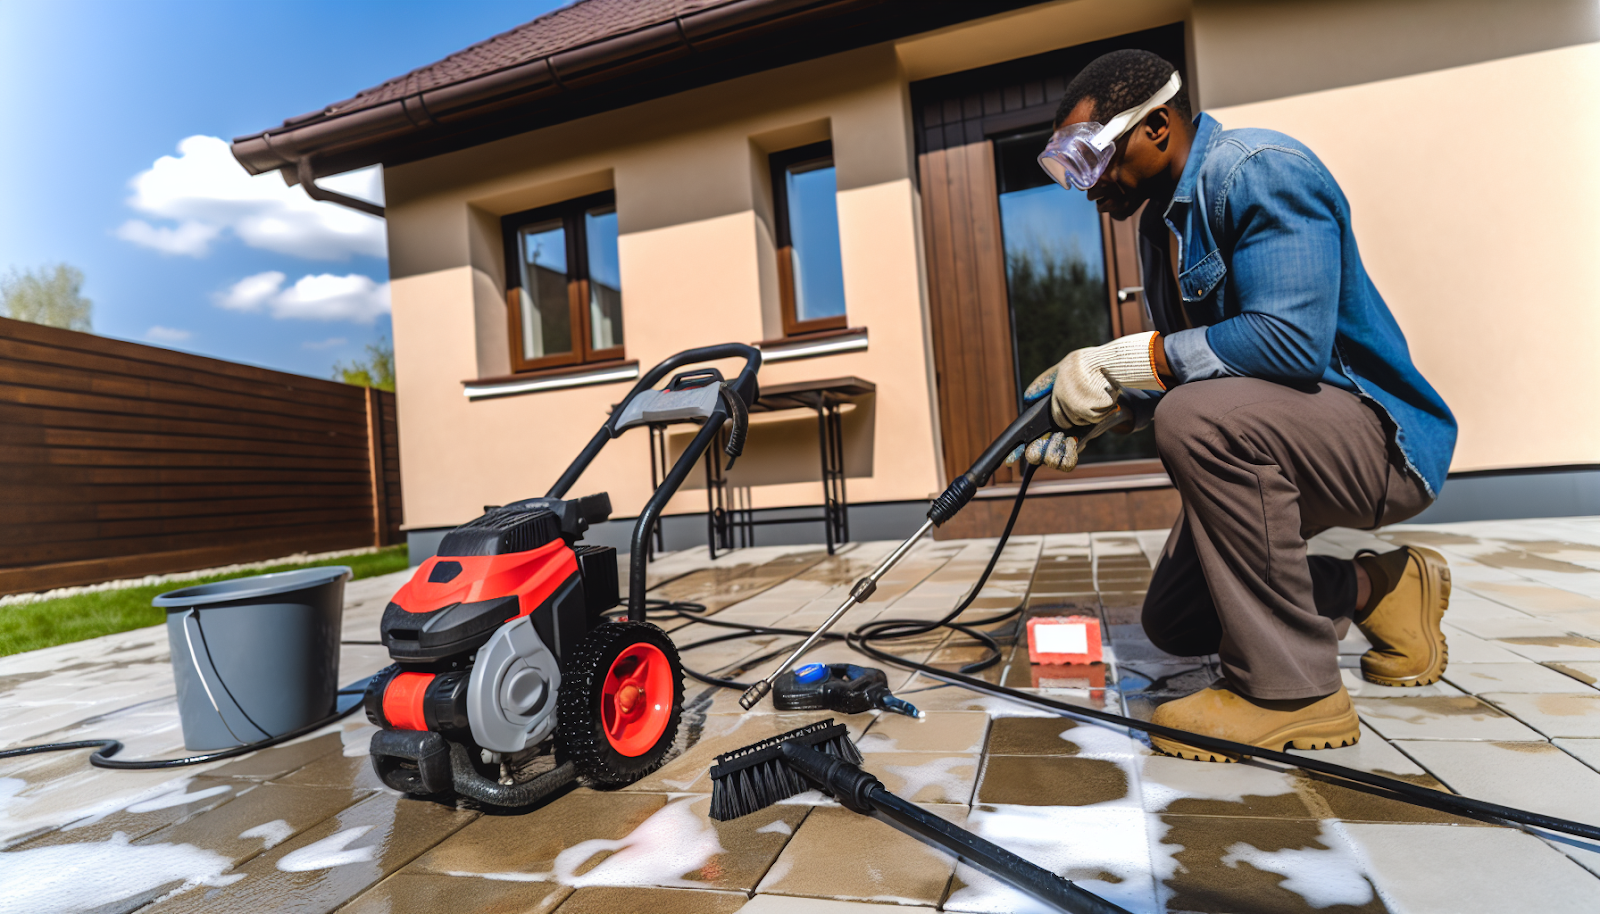
If you prefer not to use natural solutions or are pressed for time, consider pressure washing as an alternative. Imagine your pressure washer as a high-powered paint sprayer, blasting away dirt and grime in an instant.
Setting up your pressure washer for cleaning a patio involves ensuring it’s connected to a water source, sweeping the surface of the patio clear of debris, and adding detergent if your pressure washer model allows for it. The benefits of a pressure washer are immediate and gratifying results, elimination of bacteria, and prevention of issues such as moss and lichen, using a rapid technique that harnesses potent streams of water.
Setting Up Your Pressure Washer
Setting up your pressure washer involves the following steps:
- Connect the high-pressure hose to the pressure washer and the wand.
- Thread a coupler onto the water inlet of the pressure washer.
- Attach your garden hose to the coupler.
Once these steps are completed, your pressure washer will be ready for use.
For the detergent, you can use universal cleaner, multi-use pressure washer fluid, or heavy-duty patio cleaner. Just like choosing the right color of paint, choosing the right detergent can make a huge difference to your patio cleaning experience.
Effective Pressure Washing Techniques
With your pressure washer ready, you can begin the cleaning process. To achieve an even clean while pressure washing a patio, it is recommended to set the nozzle to spray water in a fan shape.
The recommended angle for holding the washer lance is 45 degrees from the body. This allows for effective cleaning of the patio slabs. It’s like using broad, sweeping brush strokes on a canvas.
Maintaining Paving Joints: The Key to Longevity
The longevity of a painting is ensured by a well-constructed frame, likewise, the stability and durability of a patio are preserved through the maintenance of slab joints.
Joints are often overlooked in the rush to clean the surface of the slabs. However, the joints are just as important, if not more so. This section will discuss the importance of maintaining the joints between patio slabs and the methods for doing so.
Removing Weeds and Debris from Joints
Your patio’s natural adversaries are weeds and debris. Removing them is like scraping off unwanted paint from your canvas. The most effective tools for removing weeds and debris from patio joints are a weeding knife and a patio weeder.
To effectively use a joint scraper for patio cleaning, follow these steps:
- Start by removing any loose debris or weeds with a broom or brush.
- Insert the scraper into the joint at an angle.
- Apply pressure and move the scraper back and forth to loosen stubborn dirt.
Re-Sanding Joints After Cleaning
Once the weeds and debris have been cleared from the joints, the next step is re-sanding. Re-sanding patio joints offers several benefits, especially when using the right paving materials:
- Smoothing out uneven brick layering
- Enhancing the overall durability of the hardscape
- Preventing weed growth
- Keeping the pavers in place.
To fill the joints, use a technique called dry grouting. This involves brushing in a mixture of sand and cement and allowing the natural environment moisture to help it set. Kiln dried sand is recommended for small gaps in patio joints, while a 3:1 mix should be used for larger gaps after cleaning them out.
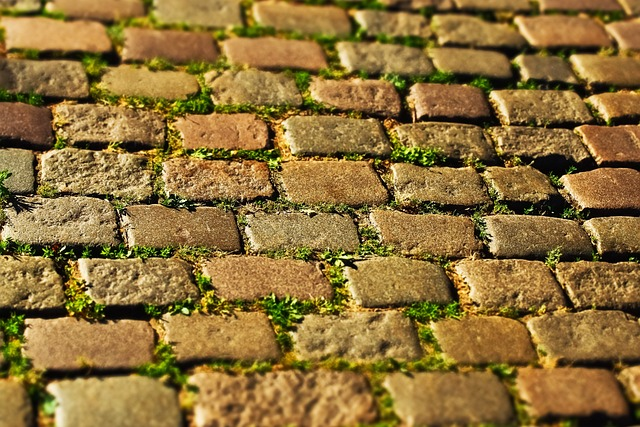
Addressing Common Patio Problems
Even the most well-planned tasks encounter challenges, and cleaning your patio is not immune to this. Green algae and moss are common problems that can leave your patio looking less than its best. But don’t worry, we have solutions!
Effective methods for preventing green algae from growing on a patio include keeping the area free of debris and using a slow-working patio cleaner. To remove green algae, one can use patio cleaners like Wet & Forget, spray white vinegar onto the algae, or use a pressure washer.
Tackling Green Algae and Moss
The moment has come to confront the green menace! One effective method for removing green algae from a patio is using bleach. Another option is to use a specialized patio cleaner designed for this purpose.
To effectively remove green algae, follow these steps:
- Leave bleach or a specialized patio cleaner on the patio for a few minutes up to a couple of days.
- Wash off the bleach or patio cleaner.
- If the algae remains present, repeat the treatment process until the algae is fully eliminated.
Ensuring Proper Drainage
Keep in mind that a well-drained patio is a clean patio. Proper drainage plays a crucial role in preventing algae and moss growth on patios by eliminating standing water, which is a common factor contributing to their development.
Inadequate patio drainage can have a significant impact on the growth of algae. When a patio lacks proper drainage, it can retain water, creating a moist environment that is favorable for algae growth.
Indicators of a blocked patio drain include unusual noise coming from the drain, water draining slowly, and a bad smell emanating from the drain.
Summary
In conclusion, a clean patio isn’t just about aesthetics. It’s about creating a clean slate, a canvas for countless memories with friends and family. With the right tools, the right cleaning solutions, and a little bit of elbow grease, you can transform your patio into a spotless outdoor space that’s ready for anything. So go ahead, grab that pressure washer or that vinegar solution, and embark on your journey to a shiny, spotless patio.
Frequently Asked Questions
What is the best way to clean paving slabs?
For the best results, use warm water with a scrubber to remove green deposits and algae, then apply a biodegradable soap in lukewarm water and leave it for 20-30 minutes.
Can you clean paving slabs with washing up liquid?
You can clean paving slabs with washing up liquid and warm water, making it a simple and effective way to clean your paving.
Does bicarbonate of soda clean paving slabs?
Bicarbonate of soda can be mixed with water and used to clean paving slabs, but it must be allowed to soak in for 15-20 minutes before scrubbing. Finally, the patio needs to be rinsed with clean water.
What are the necessary tools for cleaning a patio?
To effectively clean a patio, you will need a pressure washer and a stiff broom.
What precautions should be taken when using vinegar as a cleaning solution for patios?
When using vinegar as a cleaning solution, it is important to avoid using it on limestone pavers as it can permanently damage them.