A clean kitchen is essential for a healthy cooking environment, and knowing how to clean a kitchen hood is a crucial part of maintaining that cleanliness. The kitchen hood, also known as a range hood, plays a vital role in removing smoke and odors, but it can quickly accumulate grease and grime.
Understanding how to clean kitchen hood filter is just as important, as the filter captures grease particles that could otherwise clog up the system. Regular maintenance ensures that your hood operates efficiently and extends its lifespan.
In this guide, we will explore how to clean kitchen range hood thoroughly, offering practical tips to keep your kitchen ventilation system in top shape. Continue reading to learn how easy it can be to keep your cooking area spotless and functional.
Steps on How To Clean Kitchen Hood
Cleaning a kitchen hood involves several important steps to ensure the hood operates efficiently and safely, free from accumulated grease and grime. To understand more, check out this step-by-step guide on how to clean a kitchen hood:
a. Gather Supplies
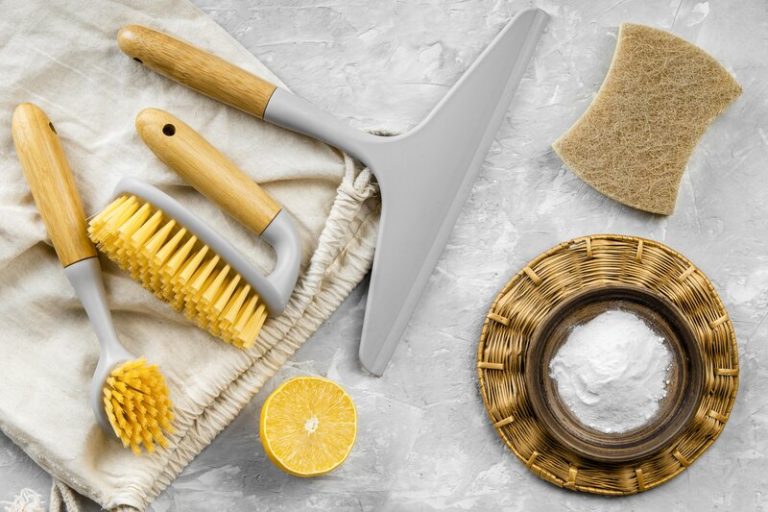
The first step in how to clean kitchen hood is to gather all the necessary supplies. Essential items include washing-up liquid, vinegar, bicarbonate of soda, and a scrubbing brush to tackle grease and grime effectively. Also, have microfibre cloths, hot water, and a container ready for soaking filters. With everything prepared, you’ll be ready to handle any stubborn build-up.
Using the appropriate cleaners is vital for maintaining the finish of your kitchen hood. For stainless steel, a mixture of washing-up liquid and warm water is effective, with bicarbonate of soda for tougher stains. Aluminium filters require a vinegar and water solution, and always remember to rinse thoroughly to avoid residue and discolouration. Preparing these supplies and using the right techniques ensures a cleaner and more efficient kitchen hood.
b. Preparing the Area
Before starting, preparation is key to a smooth cleaning process. Remove items from the worktop and hob to create a clutter-free workspace. Lay down kitchen towels or plastic sheets to catch any debris or drips, and ensure your cleaning supplies are within reach. A well-ventilated area is also crucial to avoid inhaling fumes from cleaning solutions.
Preparation also involves safety. Unplug any electrical devices and turn off your hob to prevent accidents. Wipe down surfaces immediately as you clean to prevent spreading dirt, and keep a bin handy for quick disposal of waste. By working systematically and safely, you ensure a clean and welcoming kitchen environment.
c. Cleaning the Exterior of the Hood
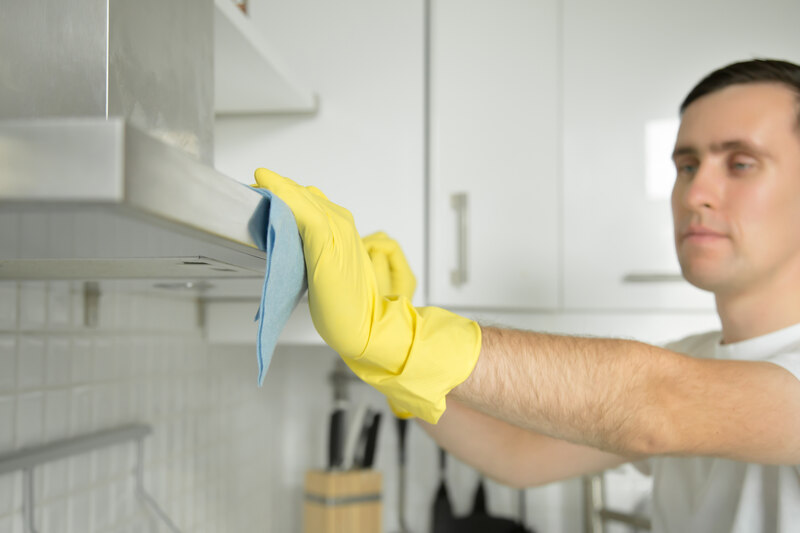
The exterior of your kitchen hood is where grease and grime are most visible, making it the first area to clean. Use a degreasing solution mixed with water and a microfibre cloth to wipe down the surface, following the grain of the stainless steel to prevent scratches. For stubborn spots, a scrub brush may be needed to apply extra effort.
To maintain the hood’s exterior finish, choose cleaning products specifically for stainless steel. These are designed to lift dirt without streaking. Regular polishing with a soft cloth can enhance shine and protect against fingerprints. Clean after major cooking sessions to minimize build-up, rinse thoroughly, and dry to prevent water spots.
d. Removing and Cleaning the Filter
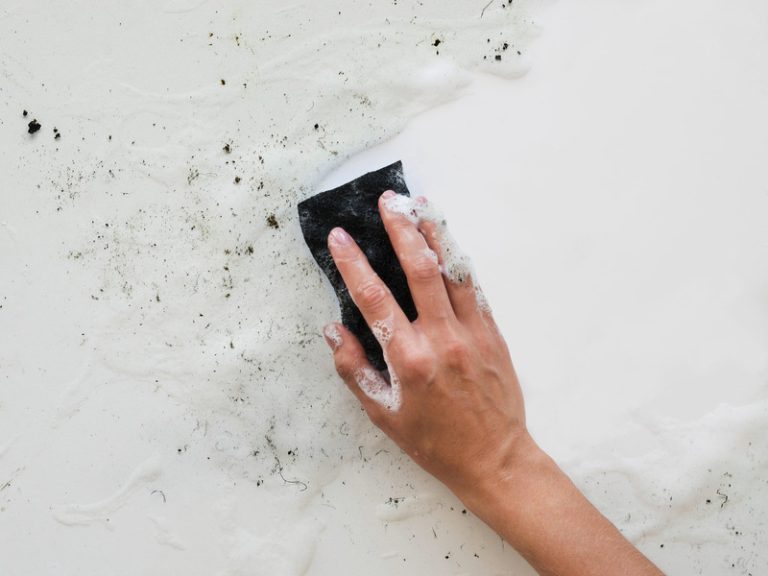
Removing and cleaning the kitchen extractor fan filter is crucial for its efficiency and longevity. Start by removing the filter according to the manufacturer’s instructions and soak it in hot water mixed with a degreaser for 15-30 minutes. Use a scrubbing brush to clean both sides thoroughly, then rinse with hot water and allow it to dry completely before reinstalling.
Different filters require different care. Aluminium filters can endure more cleaning but need thorough rinsing and drying. Carbon filters may need replacing rather than deep cleaning due to their limited durability. Maintaining a monthly cleaning schedule and ensuring proper reinstallation keeps your extractor fan functioning optimally.
e. Cleaning the Fan and Vent
Cleaning the fan and vent of your kitchen hood is essential for optimal performance and cleanliness. Start by turning off the power to the hood for safety. Disassemble the fan components according to the manufacturer’s instructions and use a degreasing solution and cloth to clean the fan blades. A scrubbing brush is useful for the vent to remove dirt and debris that might obstruct airflow.
Gather safety equipment, such as goggles and gloves, before beginning. Disconnect the power, carefully disassemble the fan, and apply degreaser to the blades. Clean the vent thoroughly to ensure efficient ventilation. Once cleaned, reassemble the components securely, check for smooth operation, and listen for any unusual sounds.
f. Cleaning the Drip Tray
The drip tray in your kitchen hood collects excess grease and liquids, making its cleaning vital. Remove the tray and soak it in hot water mixed with washing-up liquid to loosen grease. Use a scrubbing brush to clean all areas, especially corners and edges, then rinse with hot water and let it dry before reinserting.
Regularly checking and cleaning the drip tray prevents unpleasant odours and potential fire hazards. Lining the tray with absorbent pads can simplify clean-up and reduce residue build-up. Aim to clean the tray monthly, especially after heavy cooking, to maintain a hygienic cooking environment.
g. Replacing the Filter and Putting Everything Back Together
After cleaning, the final step is to replace the filter and reassemble your kitchen hood. Ensure the filter is completely dry to avoid moisture issues. Insert the cleaned filter securely according to the manufacturer’s instructions and reattach any components, such as the fan and drip tray. Turn the power back on and test the hood for efficiency.
Proper reassembly is crucial for optimal performance. Double-check that all parts are aligned and fastened correctly to prevent future problems. Test the hood for unusual noises and ensure airflow is as expected. Proper reassembly prolongs the life of your kitchen hood and ensures it operates smoothly.
How Often Should You Clean Your Kitchen Hood?
After knowing how to clean kitchen hood, it is also good to know how often this activity should be done. The frequency with which you should clean your kitchen extractor depends on your cooking habits and the amount of grease produced during meal preparation.
For households that frequently cook, especially with high-fat foods, it’s advisable to clean the kitchen extractor at least once a month. This regular maintenance prevents grease build-up and ensures that your kitchen hood functions efficiently. Additionally, performing a deep clean seasonally helps tackle any grime that may not be evident during routine cleaning.
Maintaining a consistent cleaning schedule is crucial for prolonging the lifespan of your kitchen extractor and creating a safer cooking environment. The size of your kitchen and the use of additional cooking appliances can also impact how often you need to clean. Look out for signs like increased cooking odours, reduced airflow, or greasy surfaces on the extractor as indicators that a thorough clean is necessary.
To keep up with an effective cleaning routine, consider tracking your cooking habits and adjusting your schedule accordingly. Mark monthly cleanings on your calendar to make it a habit, and keep your cleaning supplies within easy reach to encourage prompt action. By being attentive to both your cooking practices and the condition of your kitchen hood, you can maintain a cleaner and more pleasant cooking environment.
Tips for Maintaining a Clean Kitchen Hood
Maintaining a clean kitchen hood is crucial for its efficiency and longevity. Regularly wiping down the exterior surfaces with a microfibre cloth and a gentle cleaner helps prevent grease accumulation. For those looking to understand how to clean a kitchen hood effectively, using filters that are easy to clean, such as aluminium or paper filters, and routinely checking and replacing them can simplify the process. Incorporating scrub brushes and natural degreasers like vinegar and bicarbonate of soda into your routine can further enhance the cleaning process, making it both effective and time-efficient.
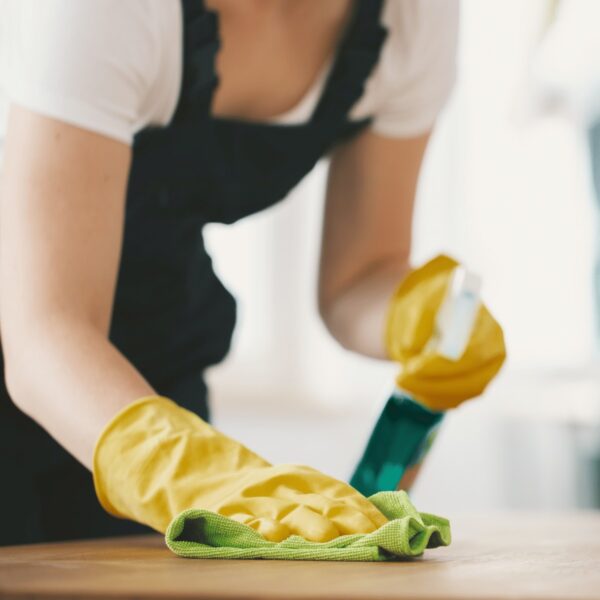
Establishing a consistent cleaning schedule is essential to maintaining a sanitary cooking environment. Regular upkeep not only ensures the hood functions optimally but also reduces the risk of fire hazards from grease build-up. Investing in high-quality cleaning tools, such as a sturdy scrub brush, can make tackling stubborn grime easier. For eco-conscious individuals, biodegradable cleaners offer a safe alternative, while a spray bottle of diluted vinegar provides a quick solution for daily clean-ups.
By following these practical tips and incorporating regular checks into your cleaning routine, you can maintain a clean and efficient kitchen hood. This approach will help keep your cooking space hygienic and functional, saving you time and effort in the long run.
When it comes to how to clean kitchen hood, it’s vital to get the process right for optimal performance and hygiene. Understanding how to clean kitchen hood filter and how to clean kitchen range hood can significantly impact your kitchen’s cleanliness and efficiency. However, cleaning these components thoroughly often requires more than just basic knowledge—it demands the right tools, techniques, and experience.
While DIY methods might seem tempting, they often fall short in delivering a deep and thorough clean. Professional cleaners from TEKA Cleaning bring specialised equipment and expert techniques to ensure every nook and cranny of your kitchen hood is impeccably cleaned.
By choosing professional residential cleaning services, you avoid the risks of inadequate cleaning and potential damage from improper methods. Let TEKA Cleaning handle the hard work so you can enjoy a sparkling, efficient kitchen without the stress. Contact us today at 01223 751 544 to schedule a comprehensive clean and keep your kitchen in top condition!
Read also:


