


Cleaning the freezer may not be the most glamorous task, but it is essential to maintain efficiency and prevent the build-up of harmful bacteria. Recognising that, this article on how to clean freezer was created especially for you.
Today, we will provide you with a step-by-step guide on how to clean freezer that can be followed easily. Keep your freezer clean and germ-free with this how to clean freezer guide!
Step-by-Step Guide on How to Clean Freezer
Find here a complete step-by-step guide on how to clean freezer that you can try and follow:
a. Emptying the Freezer
The first step in the freezer cleaning process is to empty the entire freezer, including vacuum-sealed steaks and pints of ice cream, to ensure thorough cleaning.
By emptying the freezer completely, you pave the way for a deep and effective clean that eliminates any hidden dirt or food remnants. To store perishable items during this process, consider using a cooler with ice packs to maintain their freshness.
For meats and dairy products, utilise a separate cooler to avoid cross-contamination. Fruits and vegetables can be kept in the crisper drawer of your refrigerator.
Small frozen items like ice cream can temporarily go in the refrigerator’s freezer compartment. Labelling items with dates can help you keep track of their freshness throughout the cleaning process.
b. Defrosting the Freezer
Defrosting the freezer is essential, especially for manual-defrost freezers, to remove built-up ice from the freezer compartments.
When beginning the defrosting process, it’s crucial to start by unplugging the freezer to ensure safety. Placing towels around the base of the freezer will help catch any melting ice and prevent water from leaking onto the floor.
For a quicker defrost, you can use a hairdryer on a low setting to gently melt stubborn ice patches. Placing bowls of hot water inside the freezer can speed up the process. Remember to never use sharp objects to chip away at the ice, as this can damage the freezer’s interior.
Once all the ice has melted, wipe down the interior with a clean cloth and ensure everything is dry before plugging the freezer back in.
c. Removing Shelves and Drawers
After defrosting, remove all shelves and drawers from the freezer compartments to clean them separately using appropriate freezer cleaning tools.
Begin by gently pulling out each shelf and drawer, being cautious not to force or damage them. Placing them in a sink filled with warm water and mild dish soap can help in loosening dirt and grime. For stubborn stains, a mixture of equal parts vinegar and water can be effective.
Utilise a soft sponge or microfibre cloth to scrub the surfaces, ensuring you reach into corners and crevices. Rinse thoroughly with clean water to remove any soap residue. After cleaning, it is crucial to let the shelves and drawers air dry completely before placing them back in the freezer to prevent mould growth.
d. Cleaning the Interior of the Freezer
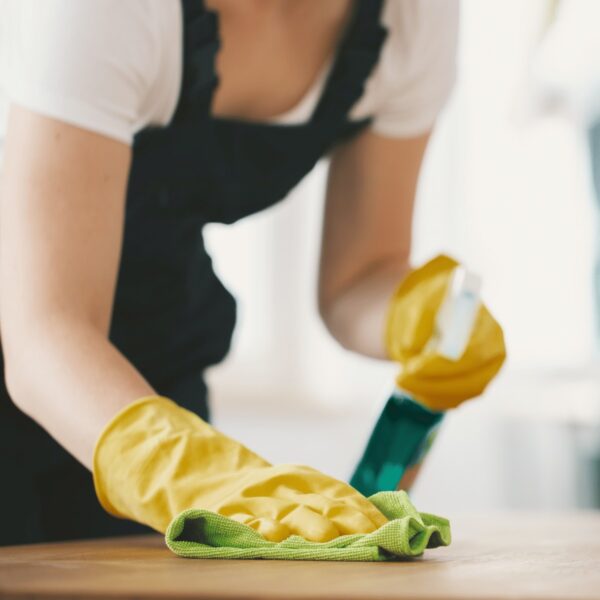
Clean the interior of the freezer using a solution of warm water and a freezer cleaning solution, wiping down all surfaces with a clean microfibre cloth.
Before starting the cleaning process, ensure that the freezer is unplugged and empty. Remove any removable shelves and drawers. Prepare the cleaning solution by mixing warm water with a small amount of freezer cleaning solution in a bucket.
Dip the microfibre cloth into the solution, making sure it is thoroughly saturated but not dripping. Begin wiping down the interior walls, shelves, door seals, and any other surfaces inside the freezer. Pay extra attention to areas with visible spills or stains.
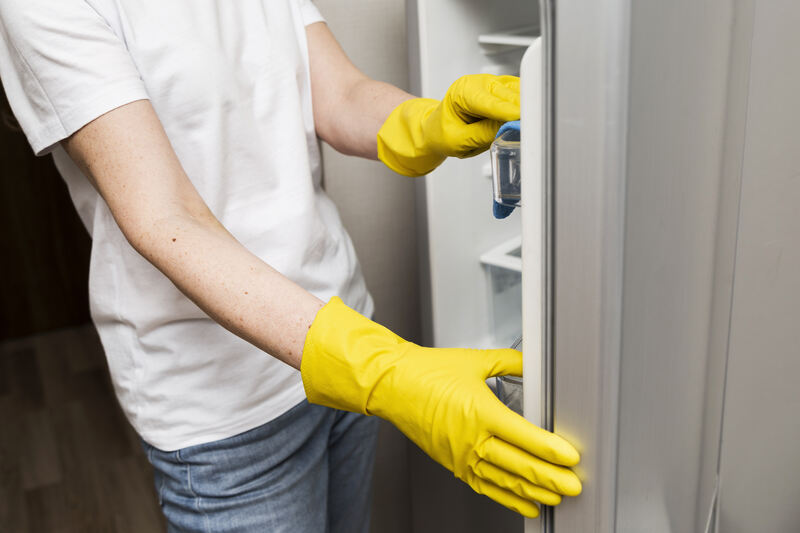
e. Cleaning the Exterior of the Freezer
To clean the exterior of the freezer, use a clean microfibre cloth along with suitable freezer cleaning materials to remove dust and fingerprints.
When wiping down the exterior of the freezer, make sure to pay extra attention to the areas around the seals and handles, as these spots tend to collect dirt and grime. A gentle solution of mild washing-up liquid and warm water can be effective in removing stubborn stains without damaging the freezer’s surfaces.
For stainless steel freezers, consider using a specialised stainless steel cleaner to restore its shine and prevent any streaks or smudges. Avoid abrasive cleaners or rough scrubbing pads, as these can scratch the surface. Remember to dry the exterior thoroughly with a soft, dry cloth to prevent water spots.
Tips and Tricks for Cleaning a Freezer
Aside from following the how to clean freezer guide above, here are some tips and tricks you can try to help make the process more efficient and effective:
a. Use Natural Cleaning Products
Using natural cleaning products can be an effective and safe way to clean your freezer without the use of harsh chemicals.
One common natural cleaning product that is great for freezer cleaning is bicarbonate of soda. Its abrasive texture helps scrub away grime and odours, leaving your freezer fresh and clean. Simply create a paste with water and apply it to the interior surfaces, then wipe it off with a damp cloth.
Another versatile option is white vinegar. Its acidity makes it effective in cutting through grease and disinfecting surfaces. Mix equal parts of water and vinegar in a spray bottle, then spritz it onto the freezer walls and shelves. Let it sit for a few minutes before wiping it down.
Lemon is also a powerful natural cleaner due to its antibacterial properties and refreshing scent. Cut a lemon in half and rub it onto stubborn stains or use lemon juice mixed with water for a natural deodorizer.
b. Use Bicarbonate of Soda for Stubborn Stains
Bicarbonate of soda is an excellent natural abrasive that can help remove stubborn stains from the interior of your freezer.
To tackle tough stains using bicarbonate of soda, you can create a simple paste by mixing bicarbonate of soda with water until it forms a thick consistency. Apply the paste onto the stained areas using a soft cloth or sponge, gently rubbing in circular motions.
c. Allow the bicarbonate of soda paste to sit on the stains for about 15-20 minutes to allow it to break down the grime.
For more stubborn stains, you can add a few drops of vinegar to the bicarbonate of soda paste to enhance its cleaning power. After letting it sit, wipe away the paste with a damp cloth.
Additional tools such as a soft-bristle brush or a plastic scraper can also be helpful in loosening tough stains without damaging the interior surface of your freezer.
d. Use Vinegar for Disinfecting
Vinegar is a natural disinfectant that can effectively clean and sanitize your freezer, eliminating bacteria and freezer odours.
When using vinegar as a cleaning solution, it’s important to dilute it correctly. Mix equal parts of water and vinegar to create a potent yet safe cleaning agent. For tougher stains or more stubborn odours, you can adjust the ratio slightly to have a stronger vinegar concentration. To apply, simply dampen a cloth or sponge with the vinegar solution and wipe down the interior of your freezer, paying extra attention to areas prone to bacteria buildup.
Vinegar’s effectiveness in fighting off bacteria and odours makes it a versatile and eco-friendly option for maintaining a clean and healthy freezer.
e. Use Lemon for Deodorising
Using lemon is a great way to naturally deodorise your freezer and leave it smelling fresh.
One simple method is to cut a lemon in half and place the halves in the freezer to absorb any lingering odours. The citrusy scent will not only combat any unpleasant smells but also give your freezer a refreshing aroma.
Another effective approach is to create a cleaning solution by mixing lemon juice with water and using it to wipe down the interior of your freezer. This not only helps in eliminating odours but also leaves a clean and fresh scent behind.
Common Mistakes to Avoid When Cleaning a Freezer
Avoid these common mistakes when cleaning your freezer to ensure a thorough and effective cleaning process, as recommended by the FDA.
One frequent mistake people make when cleaning their freezers is using harsh chemical cleaners that can leave behind harmful residues. It’s important to avoid these cleaners as they may contaminate your food items.
Instead, opt for gentle cleaning solutions such as a mixture of warm water and mild dish soap. Also, not defrosting the freezer completely before cleaning is another common error that can lead to ineffective cleaning. To address this, allow the freezer to defrost completely by turning it off and removing all the contents.
How Often Should You Clean Your Freezer?
Experts recommend cleaning your freezer at least once every three to four months to maintain optimal performance and hygiene.
Regular cleaning of your freezer is crucial to ensure it functions efficiently and keeps your food fresh. Over time, ice build-up can hinder proper airflow, leading to decreased cooling capacity. By establishing a routine cleaning schedule, you can prevent potential breakdowns and costly repairs.
Integrating freezer cleaning into your regular household chores can be straightforward. Consider setting a reminder in your diary or tying it to another monthly task, like changing air filters. Allocate a specific day each quarter to dedicate time to thoroughly clean and organize your freezer.
That’s a complete step-by-step guide to how to clean freezer, right down to tips and tricks, common mistakes to avoid, and how often you should do this task.
When it comes to maintaining your fridge’s cleanliness, professional cleaning services from TEKA Cleaning offer unmatched expertise and efficiency. Whether you need residential cleaning for your home or commercial cleaning for your business, our services ensure thorough sanitization, eliminating germs and extending the lifespan of your fridge.
Ensure your fridge stays clean and hygienic with TEKA Cleaning. Contact us today at 01233 751 544 to schedule your residential or commercial cleaning service.
Read also: