Are you tired of seeing burnt marks on your stove every time you cook? The time has come to know how to clean burnt stove top.
Today, we will discuss a step-by-step guide on how to clean burnt stove top effectively. Learn how to create a cleaning solution using natural ingredients like baking soda and lemon juice.
We will also share tips on preventing burnt marks and maintaining a clean stove top for a sparkling kitchen. Let’s dive in and bring back the shine to your stovetop!
Step-by-Step Guide on How To Clean Burnt Stove Top
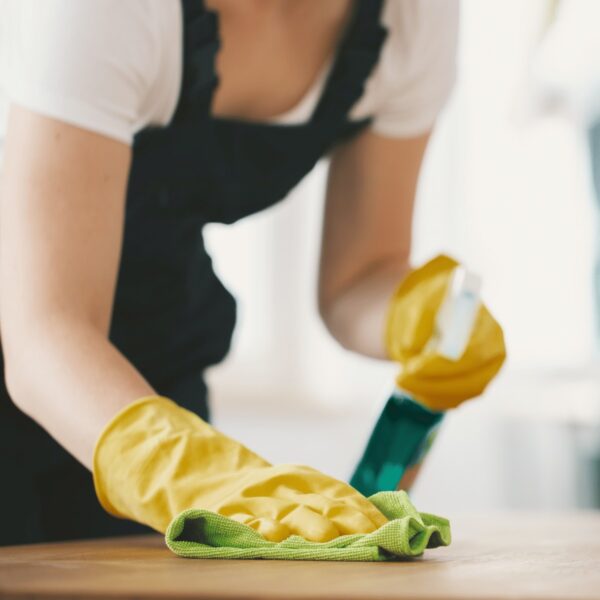
Follow this step-by-step guide to cleaning a burnt hob, ensuring a thorough cleaning process that includes scrubbing, using hot, soapy water, and white rubber erasers for a pristine finish.
a. Prepare the Stove Top
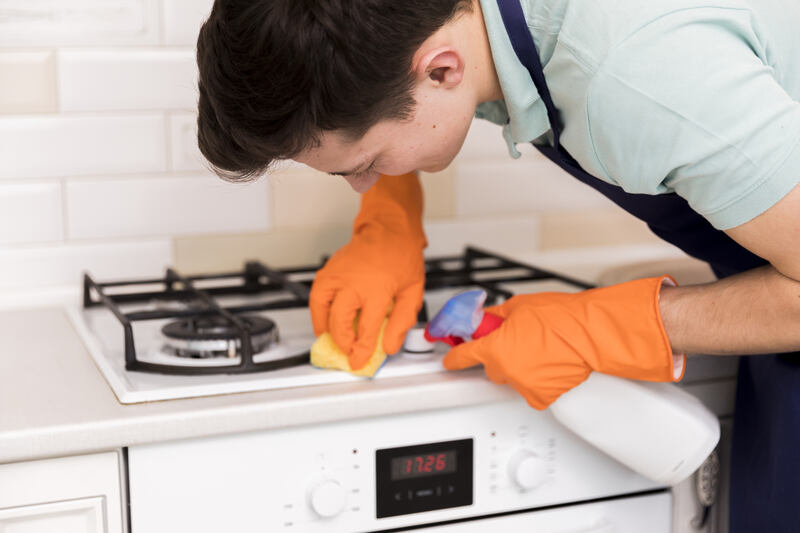
Before starting, ensure the electric hob or gas hob is completely cool and use a hob scraper to remove any loose burnt-on food.
Once you have confirmed that the hob is cool, it’s important to identify the type of hob you are cleaning. Electric hobs typically have coil burners or smooth glass surfaces, while gas hobs have burners with grates or sealed burners.
Regardless of the type, the initial steps involve removing grates, burners, and knobs. These components can usually be lifted or unscrewed for easy removal. Consult the hob’s manual for specific instructions on dismantling parts safely.
b. Create a Cleaning Solution
Create an effective cleaning solution by mixing baking soda paste with vinegar; this combination helps to break down tough stains and burnt-on food.
For a standard mixture, use a ratio of 1:1 baking soda to vinegar, forming a thick paste that can be easily applied to the hob surface.
If baking soda or vinegar is not available, you can substitute baking soda with salt for abrasive action or vinegar with lemon juice for acidity.
The reason behind the effectiveness of this combination lies in the chemical reaction between the acidic vinegar and alkaline baking soda, creating a foaming action that lifts dirt and grime effortlessly.
c. Apply the Cleaning Solution
Apply the cleaning solution generously over the burnt marks using a sponge or a dish brush to ensure thorough coverage.
To ensure that the entire burnt area is covered, work methodically from one end to the other. Make sure to apply the solution evenly, paying extra attention to heavily stained areas. A useful tip is to let the solution sit for a few minutes to penetrate the burnt residue before scrubbing. For best results, use a circular motion when scrubbing to lift off the burnt marks effectively. Utilising a microfibre cloth or a scrubbing pad can aid in removing stubborn stains more efficiently.
d. Let the Solution Sit for a Few Minutes
Allow the cleaning solution to sit on the burnt marks for a few minutes to break down the burnt-on food effectively.
Letting the solution sit is crucial as it gives the active ingredients ample time to penetrate and loosen the tough stains. During this wait time, chemical reactions occur between the solution and the burnt residue, making it easier to remove.
An ideal wait time is typically around 10-15 minutes, but for more stubborn stains, longer durations may be necessary.
To ensure optimal effectiveness, covering the treated area with a damp cloth or plastic wrap can prevent the solution from evaporating too quickly. Keeping the surface moist helps in maintaining the cleaning action.
e. Scrub the Burnt Marks
Scrub the burnt marks vigorously using white rubber sponges, focusing on tough stains to ensure they are completely removed.
To optimise the scrubbing process, it’s important to make circular motions while applying moderate pressure rather than aggressive scrubbing, as this can damage the surface. When dealing with particularly stubborn stains, try using a mixture of bicarbonate of soda and water as a natural abrasive cleaner. For grime that is hard to remove, consider investing in a good quality nylon scrubbing pad or a pumice stone specifically designed for cleaning tough marks. Always test a small, inconspicuous area first to ensure the cleaning tool is safe for the surface material.
f. Wipe Off the Cleaning Solution
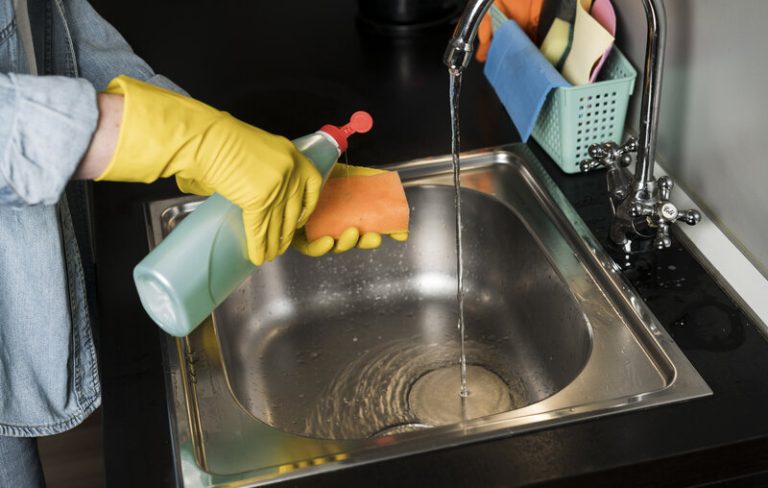
After scrubbing, wipe off the remaining cleaning solution with a sponge soaked in hot, soapy water.
Ensure that you thoroughly rinse the sponge before starting this step to prevent any chemical residue from being spread around.
Wiping off effectively means going over the surface multiple times, ensuring there are no streaks or leftover cleaning solution. This step is crucial to prevent any product buildup, which can attract more dirt and grime over time.
g. Rinse the Stove Top
Rinse the hob thoroughly to remove any remaining cleaning solution and debris from the cleaning process.
To effectively rinse the hob, use a clean damp cloth or sponge to wipe off the cleaning solution. Ensure that all traces of the solution are removed to prevent any chemical residue.
It is important to be gentle while rinsing to avoid scratching the surface of the hob. Take care to rinse around the burners and control knobs, as these areas tend to accumulate residue.
Avoid using excessive water or spraying water directly onto the hob, especially if it is an electric hob. Excessive moisture can seep into the electric components and cause damage. Instead, wring out the cloth or sponge well before rinsing.
h. Dry and Polish the Hob
Dry the hob completely and polish it to restore its shine, which is the final step in the cleaning process.
Tips and Tricks for Removing Stubborn Burnt Marks
When dealing with particularly stubborn burnt marks, using a combination of bicarbonate of soda, vinegar, lemon juice, and commercial products can make a significant difference. Here are some tips that you can apply in addition to how to clean burnt stove top that has been explained earlier.
a. Use Baking Soda and Vinegar
A tried-and-tested method for removing burnt marks involves using a mixture of bicarbonate of soda and vinegar as a potent cleaning solution.
b. Apply Lemon Juice and Salt
For a natural approach, apply lemon juice and salt directly to tough stains to break down burnt-on residue without harsh chemicals.
When lemon juice combines with salt, the citric acid in the lemon breaks down the dirt and grime, while the abrasive texture of salt helps scrub away the stubborn residue. This powerful combination not only tackles grease and grime effectively but also leaves a fresh citrus scent behind.
To apply this mixture, simply sprinkle salt over the stained surface and squeeze fresh lemon juice on top. Let it sit for a few minutes to allow the ingredients to work their magic. Then, gently scrub the area with a sponge or cloth to lift away the stains.
There are numerous benefits of using natural cleaning methods like lemon juice and salt. Not only are you avoiding exposure to harsh chemicals and fumes, but you are also being environmentally friendly by opting for these biodegradable ingredients. Lemon juice has natural antibacterial properties, making it an ideal choice for disinfecting surfaces in a safe and non-toxic way.
c. Try Commercial Stove Top Cleaners
Commercial hob cleaners can be highly effective for removing stubborn burnt marks and restoring shine. These products are specifically formulated to tackle tough grease and grime, making cleaning a breeze.
To use these cleaners effectively, simply apply a small amount onto the affected area, let it sit for a few minutes to loosen the dirt, and then scrub gently with a sponge or cloth. It is essential to follow the manufacturer’s instructions and wear gloves to protect your hands from the strong chemicals.
While commercial cleaners are efficient, they contain harsh chemicals that can be harmful if not used properly. Avoid mixing them with other cleaning agents as they can produce toxic fumes. Always ensure proper ventilation when using these products.
One benefit of using commercial hob cleaners is their ability to cut through tough stains quickly, saving you time and effort. A drawback is that some cleaners may leave a strong chemical odour or residue behind, which may require additional rinsing to remove completely.
How to Maintain a Clean Stove Top?
As well as understanding how to clean burnt stove top, here are some ways you can maintain its cleanliness.
a. Clean Spills Immediately
One of the most effective ways to maintain a clean hob is to clean spills immediately before they turn into burnt-on food.
When spills are left unattended, the heat from cooking can cause them to harden and stick stubbornly to the surface of the hob. This not only makes later cleaning more difficult but can also lead to the build-up of grime and bacteria over time.
By wiping up spills promptly with a damp cloth or sponge, you not only prevent unsightly stains but also ensure that your hob remains hygienic and safe for cooking.
b. Use a Protective Cover
Using a protective cover can shield your hob from spills and reduce the chances of burnt marks forming over time.
There are various types of protective covers available in the market, such as silicone mats, toughened glass sheets, and metal covers. Silicone mats are flexible and easy to clean, making them a popular choice among users. Toughened glass sheets offer a sleek look and are heat-resistant, providing a protective barrier without obstructing your hob’s aesthetic. Metal covers are durable and can withstand high temperatures, ideal for heavy-duty cooking.
To use a protective cover, simply place it over your hob when not in use or while cooking to prevent spills and splatters from directly reaching the surface. Cleaning them regularly with mild soap and water will help maintain their effectiveness and prolong the life of your hob.
The advantages of incorporating protective covers into your hob maintenance routine are numerous. Aside from protecting your hob from stains and scratches, they also make cleaning easier and quicker. By reducing the need for vigorous scrubbing, they help preserve the quality of your hob and extend its lifespan. Using covers can enhance the overall appearance of your kitchen by keeping your hob looking new and well-maintained.
c. Regularly clean and polish the stovetop
Regularly cleaning and polishing your hob will ensure it remains free of burnt marks and retains its shine.
Establishing a cleaning routine for your hob is essential to prevent stubborn stains and grease buildup. By incorporating this into your regular maintenance schedule, you not only keep your kitchen looking pristine but also extend the lifespan of your hob.
Using specialised hob cleaners can effectively remove tough residues without damaging the surface. Polishing the hob regularly helps restore its original lustre, making it a focal point of your kitchen. Consistent care and attention will contribute to the overall functionality and aesthetics of your cooking space.
That’s a step-by-step guide on how to clean burnt stove top, complete with tips on maintaining its cleanliness. However, when it comes to ensuring a consistently pristine environment, especially in high-traffic areas or busy kitchens, relying on professional cleaning services like TEKA Cleaning can offer distinct advantages.
At TEKA Cleaning, we understand the challenges of maintaining cleanliness in both residential and commercial settings. Our team of trained professionals is equipped with the expertise and specialized equipment necessary to tackle tough stains and grime effectively. Whether it’s removing burnt residues from stove tops or deep cleaning entire kitchen areas, we follow rigorous protocols to ensure thoroughness and quality.
Furthermore, our services extend beyond kitchen cleaning. From comprehensive residential cleaning that covers everything from carpets to windows, to specialized commercial cleaning for offices, retail spaces, and more, TEKA Cleaning is your go-to partner for maintaining a clean and hygienic environment.
Make the smart choice for cleanliness and hygiene. Contact TEKA Cleaning today at 01233 751 544 to book your residential or commercial cleaning service. Let us handle the dirty work while you enjoy the benefits of a spotless and inviting space.
Read also: