


A sparkling clean bathroom is essential for maintaining a hygienic and fresh living space. Hence, it is important to know the deep cleaning bathroom checklist.
Explore more on how to clean a bathroom checklist in depth to ensure every corner is clean. From clearing clutter to sanitising surfaces and refreshing yourself with essential oils, we’ve got you covered.
Not only deep cleaning bathroom checklist, also find tips on how to keep your bathroom clean that will leave you feeling refreshed and rejuvenated.
What Supplies Do You Need for Deep Cleaning a Bathroom?
To thoroughly clean a bathroom effectively, you will need a variety of supplies, including:
- Vinegar: a versatile cleaner that can remove dirt and odours due to its acidic properties.
- Bleach: a potent disinfectant that kills bacteria and viruses, making it perfect for frequently touched areas.
- Bicarbonate of soda: serves as a mild abrasive and deodoriser, great for scrubbing basins and baths.
- Microfibre cloths: a lint-free and highly absorbent, effectively capturing dirt and dust.
- A floor cloth: helps clean floors efficiently, while a scraper is ideal for streak-free glass surfaces.
- A toilet brush: crucial for thorough cleaning and maintaining toilet hygiene.
The Deep Cleaning Bathroom Checklist
Creating a thorough cleaning bathroom checklist is vital for organising tasks and ensuring that no area is missed. This checklist will cover daily, weekly, and monthly schedules to keep your bathroom in immaculate condition. Here’s the further explanation.
a. Clearing the Clutter
The first step in deep cleaning your bathroom is clearing the clutter, which involves removing all items from countertops, cabinets, and drawers to create a tidy workspace.
Once you have decluttered your bathroom, it’s time to start organising. Categorise the items you removed into groups such as toiletries, cleaning supplies, and cosmetics. Utilise storage solutions like baskets, trays, and drawer dividers to keep everything neat and easily accessible. Consider investing in space-saving organisers to maximise the storage capacity of your cabinets and drawers.
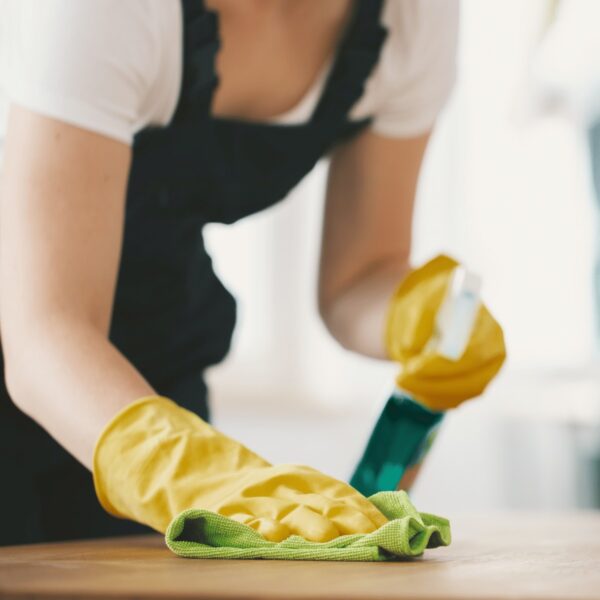
b. Dusting and Wiping Down Surfaces
Once the clutter is cleared, the next task is dusting and wiping down all surfaces using microfibre towels and natural cleaners to ensure a dust-free and polished environment.
Dusting and wiping down surfaces is an essential step in maintaining a clean and healthy living or working environment. Start by lightly dusting all surfaces with a dry microfibre cloth to remove loose particles.
Next, create a natural cleaning solution by mixing equal parts of water and vinegar in a spray bottle. Spray this solution onto the surfaces and wipe them down gently using a clean microfibre towel to remove built-up dirt and grime. The vinegar acts as a natural disinfectant while leaving surfaces sparkling clean.
c. Cleaning the Mirrors and Windows
Cleaning the mirrors and windows comes next, using a glass cleaner and a squeegee to achieve streak-free shine and clarity.
When cleaning mirrors and windows, it’s essential to start from the top and work your way down to prevent drips and streaks. Begin by spraying the glass cleaner onto the surface and letting it sit for a few moments to break down any grime or dirt. Then, take the squeegee and use a vertical motion to wipe off the solution, ensuring a smooth finish.
Regularly maintaining cleanliness on these surfaces not only enhances the aesthetics of your bathroom but also prevents the buildup of water spots and dirt that can obscure natural light and make the space appear gloomy.
d. Scrubbing and Disinfecting the Toilet
Scrubbing and disinfecting the toilet is a critical step, using a toilet brush and a disinfectant like bleach to eliminate germs and maintain hygiene.
When cleaning the toilet, start by applying the disinfectant around the inner sides of the bowl, focusing on areas prone to build-up like the waterline and under the rim. Scrub vigorously with the toilet brush to loosen any stubborn stains and bacteria.
Don’t forget to clean the outside of the toilet, including the seat, lid and base. For an effective deep clean, remove the seat and clean underneath it thoroughly. Flush the toilet to rinse away the disinfectant and leave your toilet sparkling clean and germ-free.
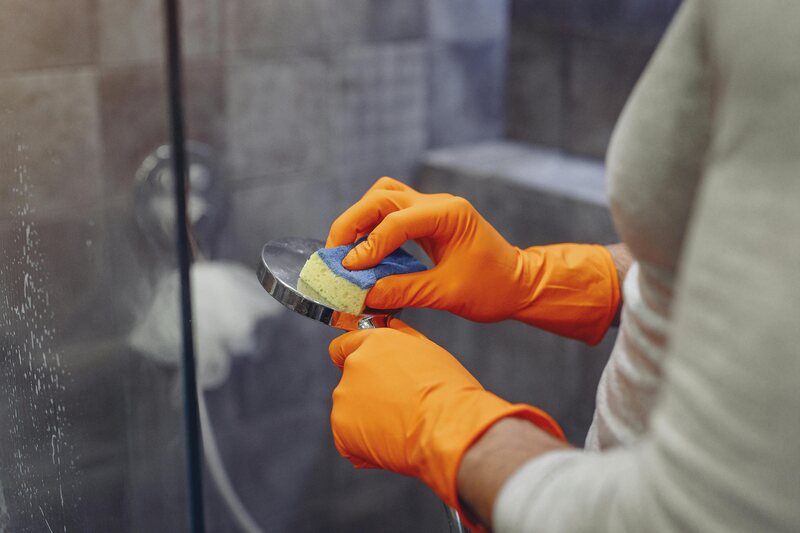
e. Cleaning the Shower and Bathtub
Cleaning the shower and bath involves removing mould and mildew buildup using a vinegar soak and following up with a squeegee for a spotless finish.
Along with the vinegar soak and squeegee method, it’s important to pay attention to the grout lines and corners where mould and mildew often linger. To tackle these areas effectively, create a paste using bicarbonate of soda and water, apply it to the grout, let it sit for a few minutes, and then scrub with a small brush.
Regular maintenance is key to preventing mould and mildew from reappearing, so make sure to dry the shower and bath surfaces after each use to discourage their growth.
f. Wiping Down Cabinets and Drawers
Wiping down cupboards and drawers is an essential part of deep cleaning, ensuring that all surfaces are free from dust and grime.
Regarding cleaning cupboards and drawers, it’s not just about aesthetics but also about maintaining a hygienic home environment. Regular cleaning prevents the build-up of dirt and bacteria, promoting a healthier living space for you and your family.
To effectively wipe down these surfaces, start by removing all items from the cupboards and drawers to access every nook and cranny. Use a mild detergent solution or a mixture of water and vinegar to gently scrub away any stubborn stains or grease. Wipe them down with a soft cloth or sponge, ensuring thorough coverage. Finish off by drying them with a clean towel to prevent water damage.
By using the right cleaning supplies and techniques, you can keep your cupboards and drawers looking pristine and germ-free.
g. Cleaning and Organising the Vanity Area
Cleaning and organising the vanity area is crucial for maintaining a tidy and functional bathroom space. Start by decluttering the vanity surface, and removing any expired products or items no longer in use. This will create a clean slate for organising essentials.
Next, categorise your personal items such as makeup, skincare, and hair products into separate containers or trays to keep everything easily accessible and visually pleasing. Utilise dividers or small storage boxes to separate different types of products.
Consider using multi-purpose cleaning wipes to regularly wipe down surfaces and mirrors, keeping everything sparkling clean. Keeping the vanity area tidy not only enhances the aesthetic appeal but also makes your daily routine more streamlined and enjoyable.
h. Sanitising the Sink and Tap
Sanitising the sink and tap is essential to eliminate bacteria and ensure a clean and hygienic bathroom environment.
Begin by gathering the necessary cleaning supplies such as disinfectant spray, bleach, gloves, and a scrubbing brush.
Remember to remove any debris or food particles from the sink before proceeding with the sanitisation process. Using a mixture of water and bleach, scrub the sink and tap thoroughly to kill germs and bacteria. Pay special attention to the areas around the plughole and handles where grime tends to accumulate. Rinse everything with hot water and dry with a clean cloth to prevent water spots or mould growth. Regularly practising this cleaning routine can help maintain a germ-free sink and tap.
i. Washing and Disinfecting the Floors
Washing and disinfecting the bathroom floors is necessary to remove dirt and bacteria, using a mop and appropriate cleaning solutions.
Regarding choosing the right cleaning solutions, opt for products specifically labelled as disinfectants to effectively kill germs and sanitize the floor surface. The process should start by sweeping or vacuuming the floor to remove loose debris before applying the cleaning solution.
Ensure adequate ventilation during and after cleaning to speed up the drying process and prevent the build-up of mould and mildew. Thoroughly wring out the mop to avoid leaving excessive moisture on the floor, which can lead to slip hazards.
j. Laundering and Replacing Towels and Mats
Washing and replacing towels and mats regularly is crucial to maintaining a fresh and clean bathroom environment.
Failure to wash these items can lead to the accumulation of bacteria and mould, which can compromise the hygiene of your bathroom. To ensure optimal cleanliness, it is recommended to replace bath mats every 1-2 years and towels every 1-3 years, depending on their quality and frequency of use.
When washing, use hot water and a quality detergent to eliminate germs effectively. Bleach can also be added occasionally to disinfect and whiten linens. Avoid overloading the washing machine to allow proper agitation and rinsing. Make sure to dry towels and mats completely to prevent musty odours and bacterial growth.
k. Emptying and Cleaning the Rubbish Bin
Emptying and cleaning the rubbish bin is an important step in maintaining a clean and odour-free bathroom. Regularly clearing out the rubbish bin helps to prevent unwanted smells and the build-up of harmful bacteria in your bathroom.
Start by removing the bag or liner from the bin and disposing of it appropriately. Next, use a disinfectant spray or wipes to clean the inside surfaces, including the bottom and sides.
Make sure to also wipe down the exterior of the rubbish bin to remove any dirt or grime. Once clean, allow the bin to fully air dry before inserting a new liner.
l. Cleaning and Disinfecting the Toothbrush Holder
Cleaning and disinfecting the toothbrush holder is necessary to prevent the build-up of bacteria and maintain oral hygiene. One effective method to clean the toothbrush holder is to first remove all toothbrushes and rinse the holder with warm, soapy water to remove visible dirt and residue.
Next, soak the holder in a solution of equal parts water and vinegar for at least 10-15 minutes to disinfect and kill bacteria. Use a small brush or toothbrush to scrub any stubborn spots or crevices.
After cleaning, thoroughly rinse the holder with clean water and allow it to air dry completely before placing the toothbrushes back in. It is recommended to perform this cleaning process at least once a week to ensure a germ-free environment for your toothbrushes.
m. Freshening Up with Air Fresheners or Essential Oils
Freshening up your bathroom with air fresheners or essential oils is the final touch to ensure a pleasant and inviting atmosphere.
A well-scented bathroom can elevate your mood and create a spa-like experience within the comfort of your home. When choosing the perfect scent, consider fragrances that promote relaxation, such as lavender or eucalyptus, to help unwind after a long day. Creating a personalised aroma for your bathroom can also reflect your unique style and preferences.
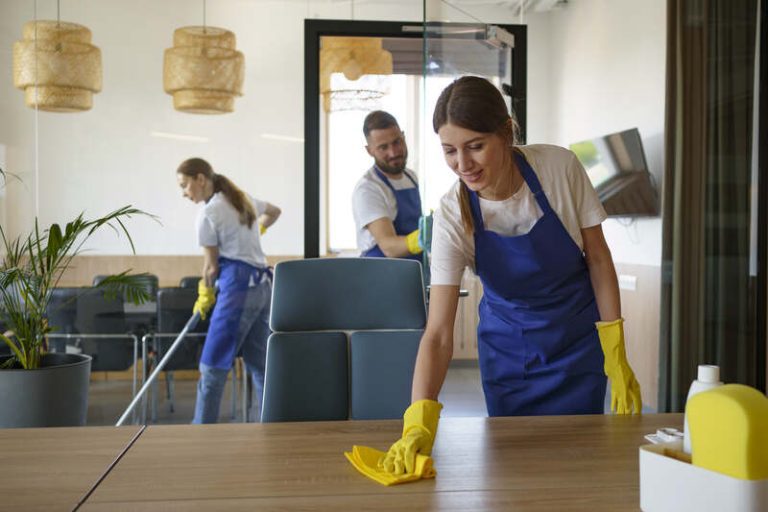
That’s the deep cleaning bathroom checklist that you can follow. From the guide above, now you know how to clean a bathroom checklist effectively, right? Yet, we all know that maintaining this level of cleanliness regularly can be a daunting and time-consuming task.
To ensure your bathroom stays pristine and hygienic without the hassle, consider the residential cleaning services from TEKA Cleaning. Our professional cleaners are equipped with the expertise and tools to deliver a thorough clean that not only meets but exceeds your expectations.
Don’t compromise on the health and comfort of your home. Contact TEKA Cleaning today on 01233 751 544 to schedule your residential cleaning service and experience the difference of a truly spotless bathroom.
Read also: